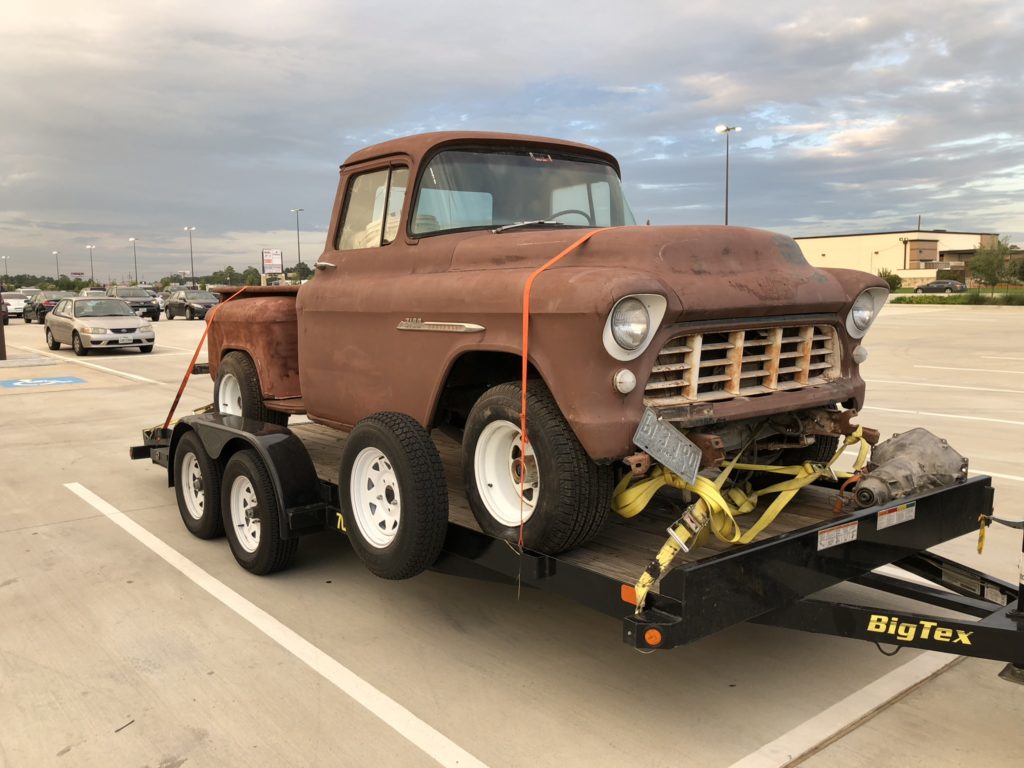
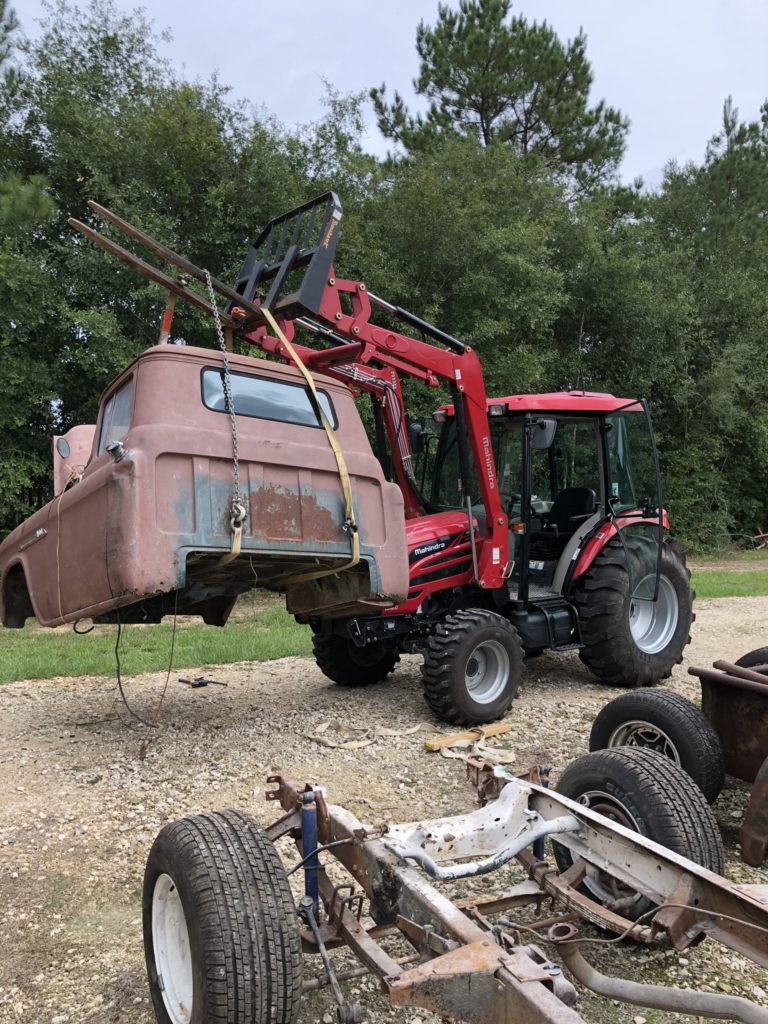
Welcome to the 55 revive! We picked up a 1955 chevy 3100 outside of Austin, enjoy our story on the revival back to life!
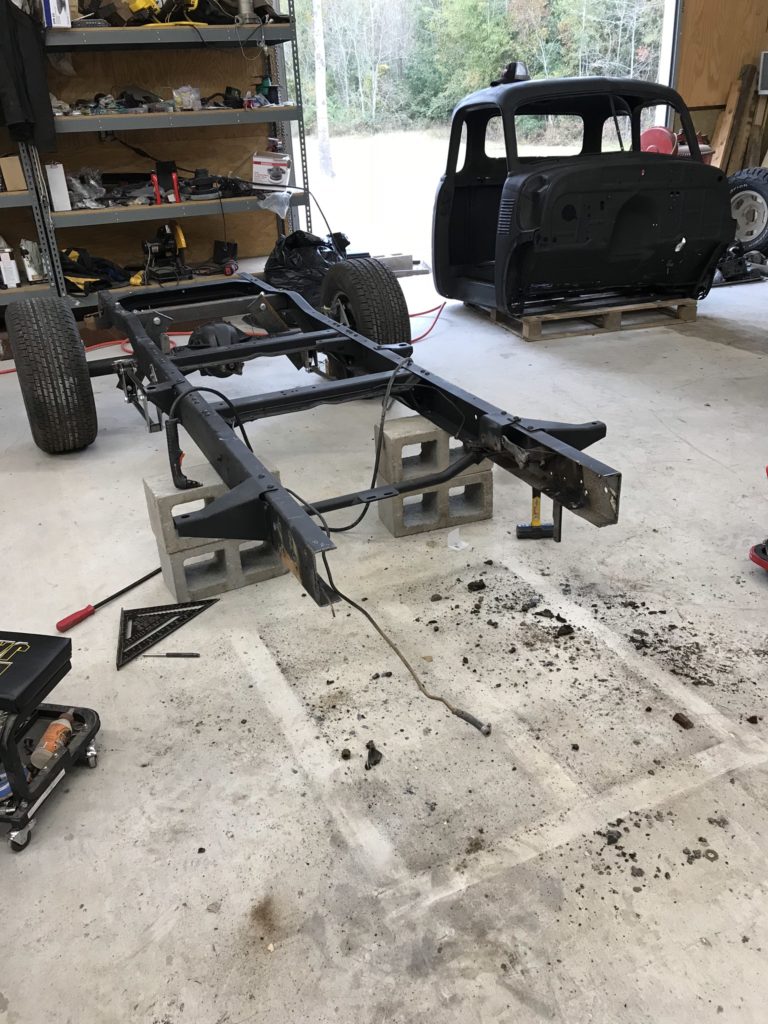
Used the plasma cutter today to make easy work of removing the frame studs and the old leaf springs and perches.
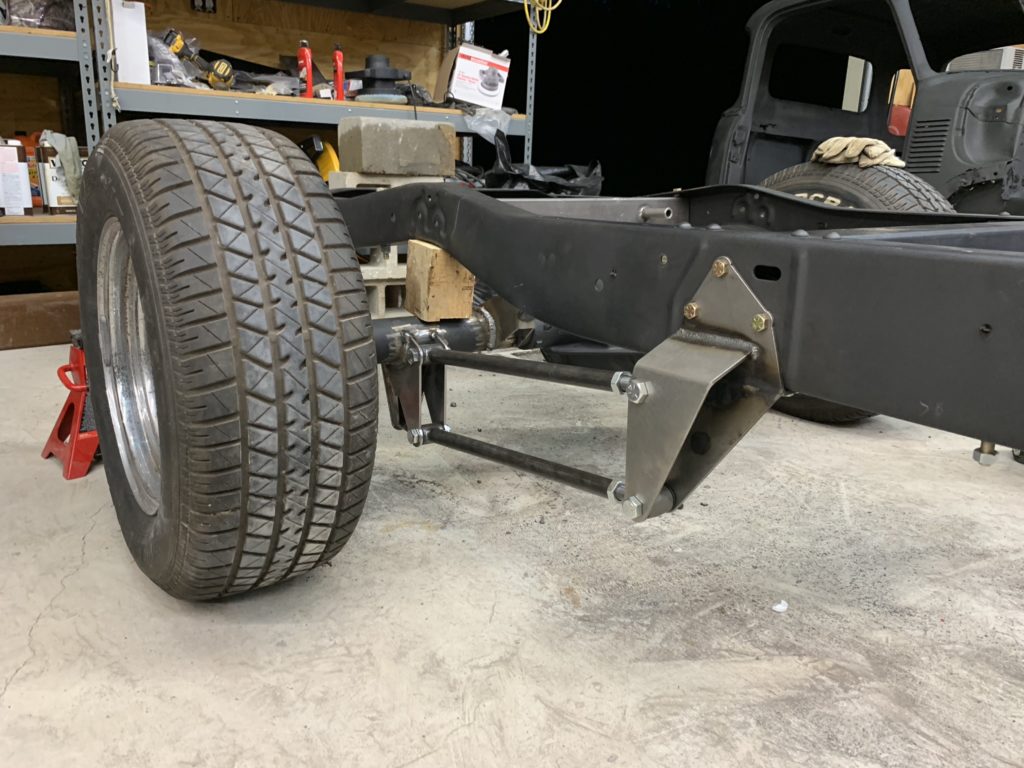
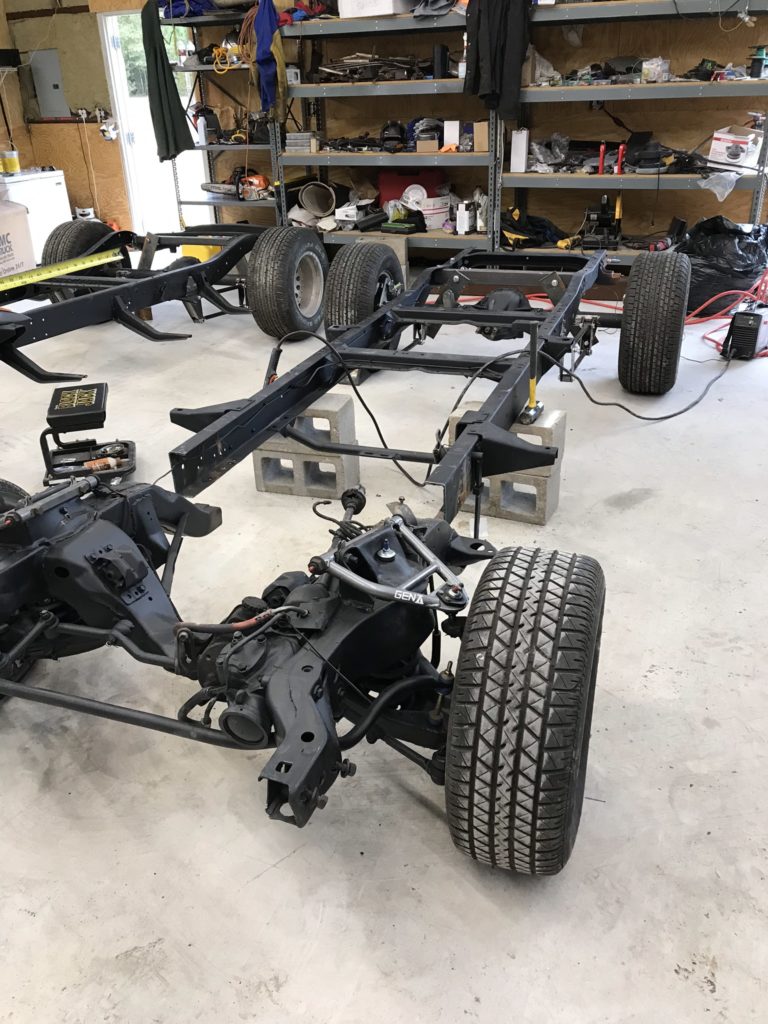
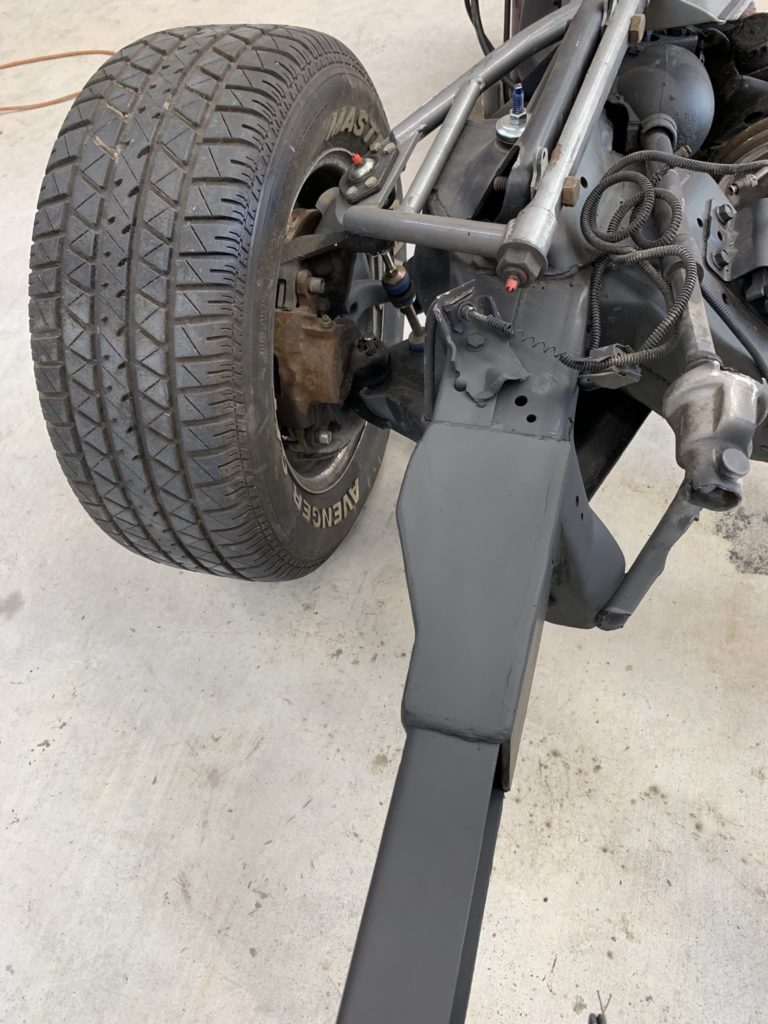
Wrapped up the install on the new Heidts 4 link rear suspension today. Overall a nice system, the bolt holes lined up and all the hardware fit. I am a little concerned with the length of the links, but they should work. Brackets fit really nice on the GM 10 bolt 8.5″ rear end.
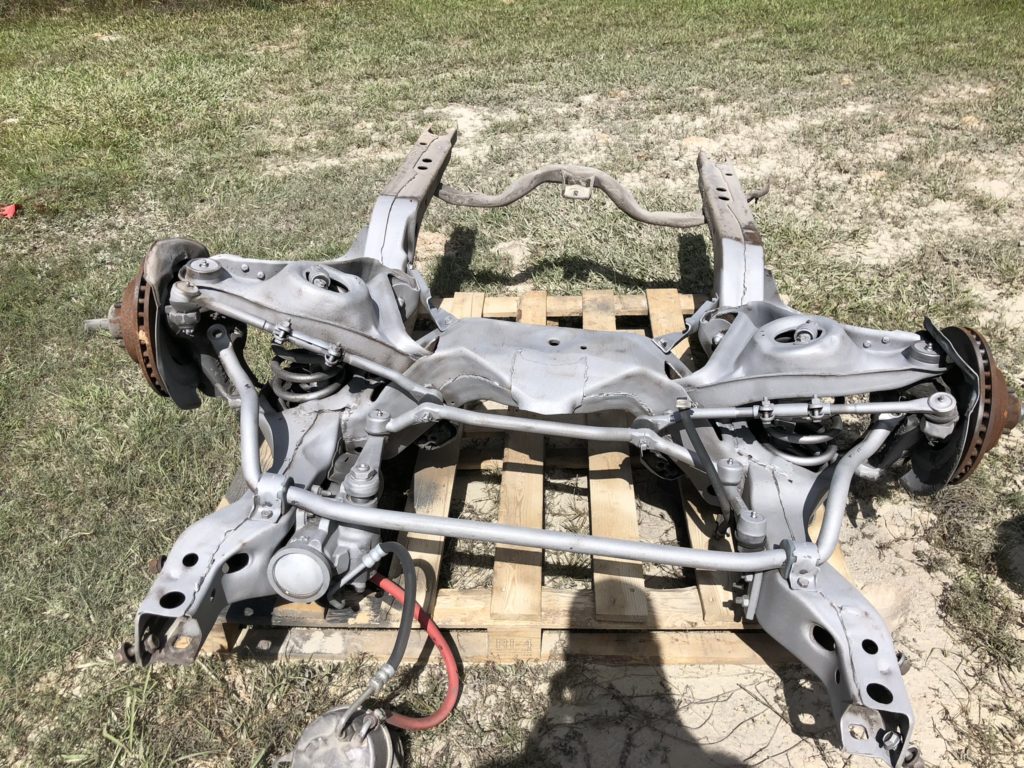
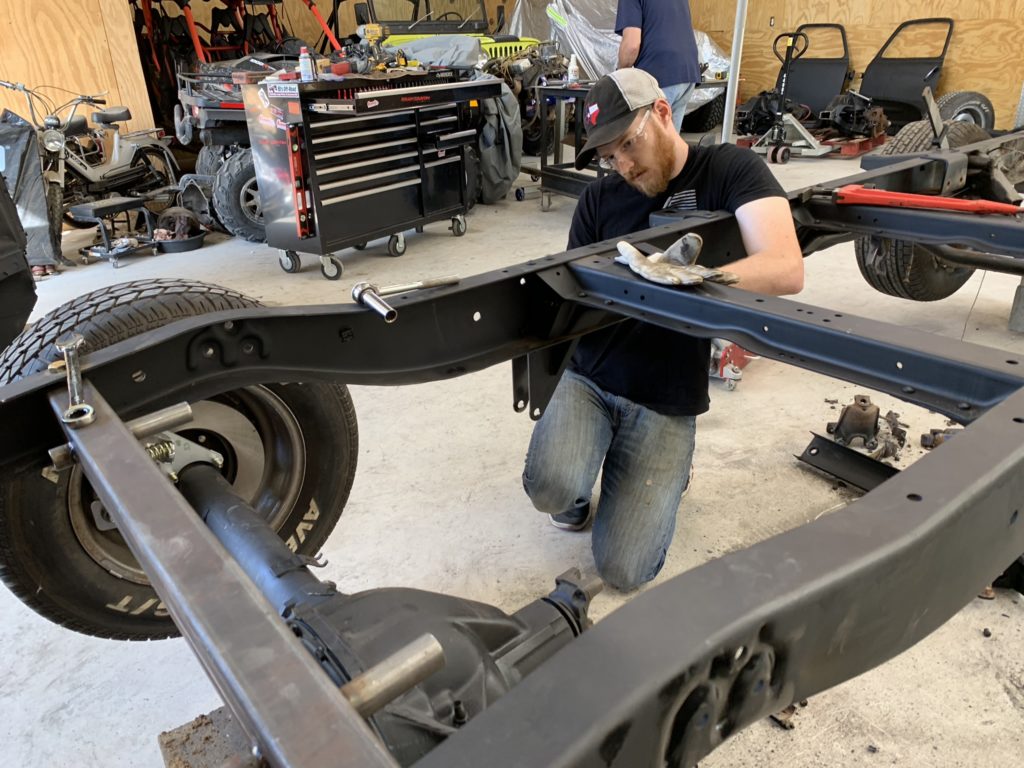
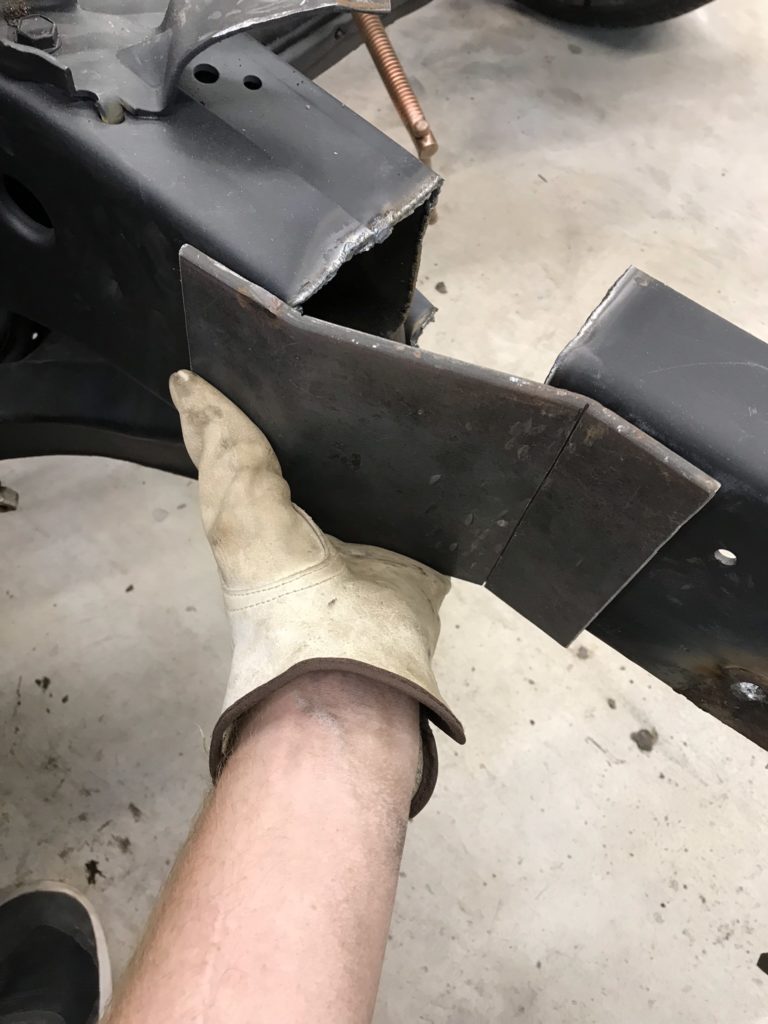
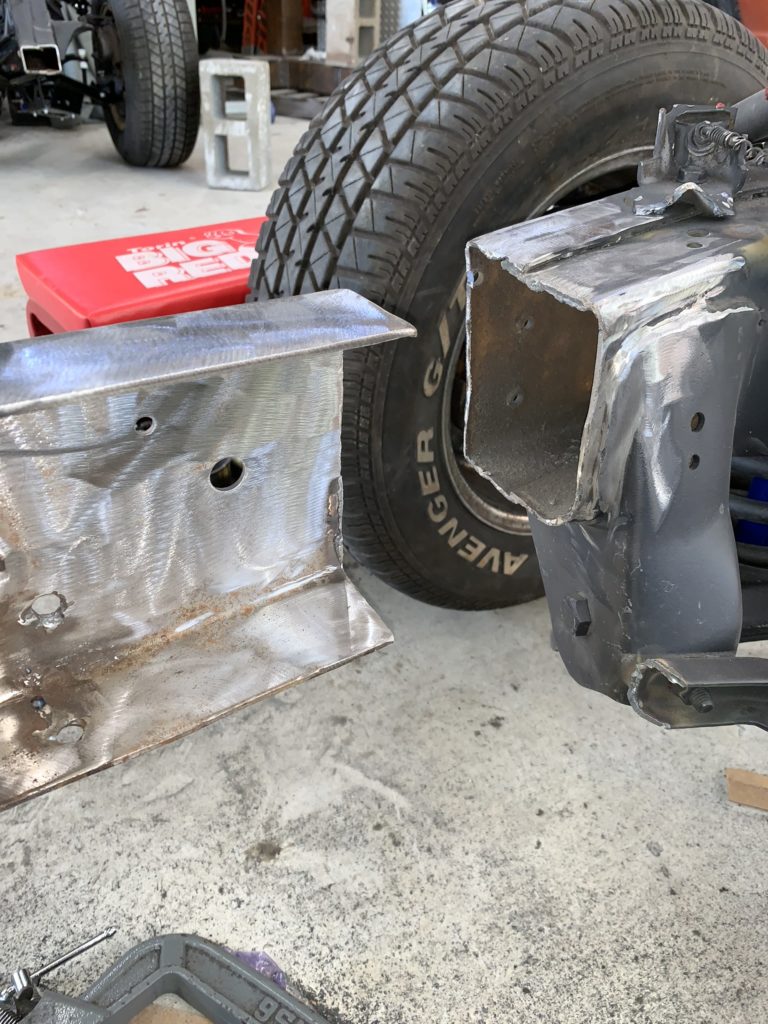
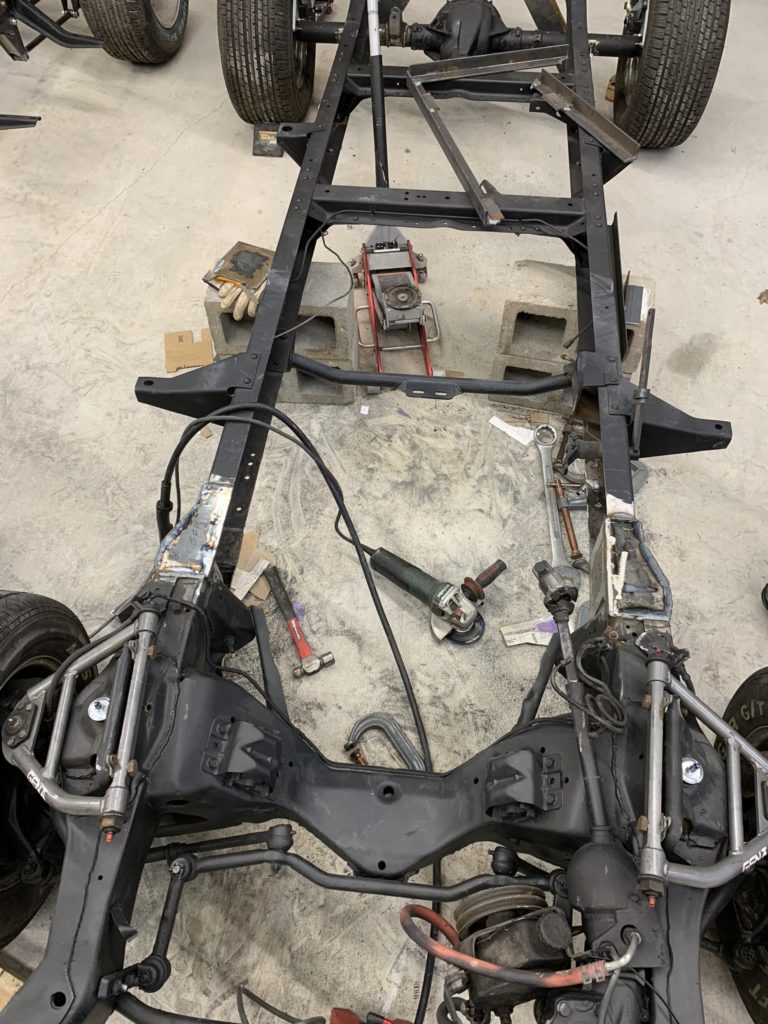
Since we have the new fresh and clean Camaro clip to attach we made some guesses, measurements and cut the old clip off. I did quite a bit of research on the process… what I can tell you is that it’s all custom fit. There is really no way to have this down to a repeatable science, there is a lot of triple checking and just cutting it and checking. If you aren’t ready to think, cut, measure, cut, measure, think… then this really isn’t for you. That said, it was fun to do and push your brain to think how to get everything square, even and maintain the wheel base.

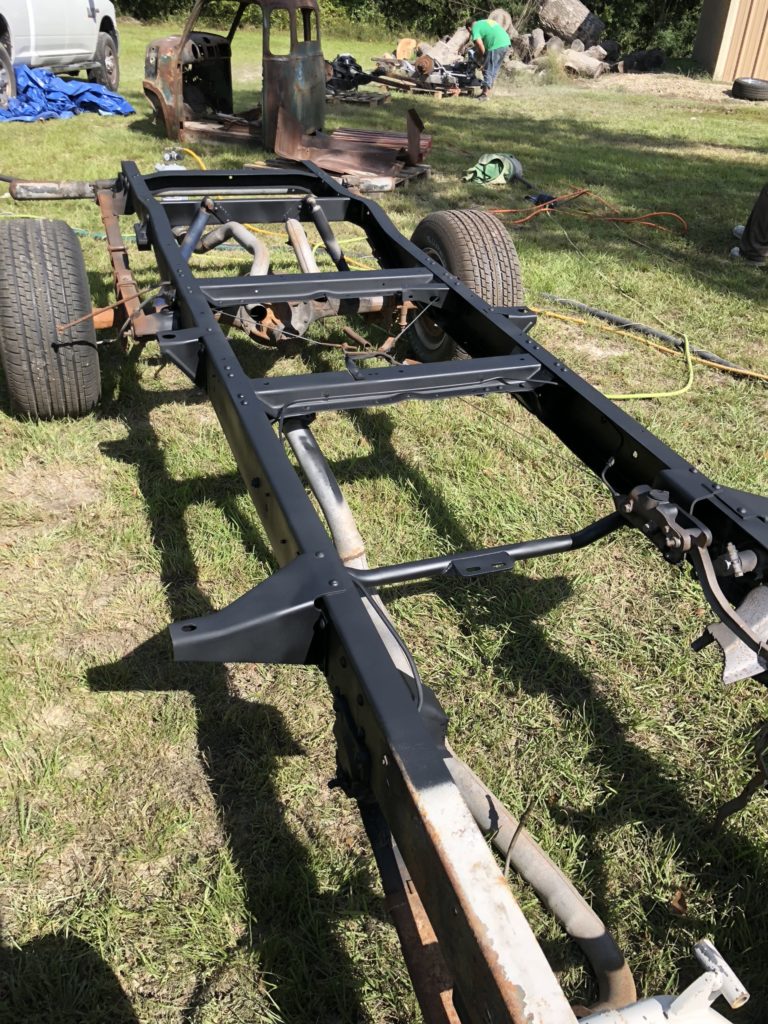
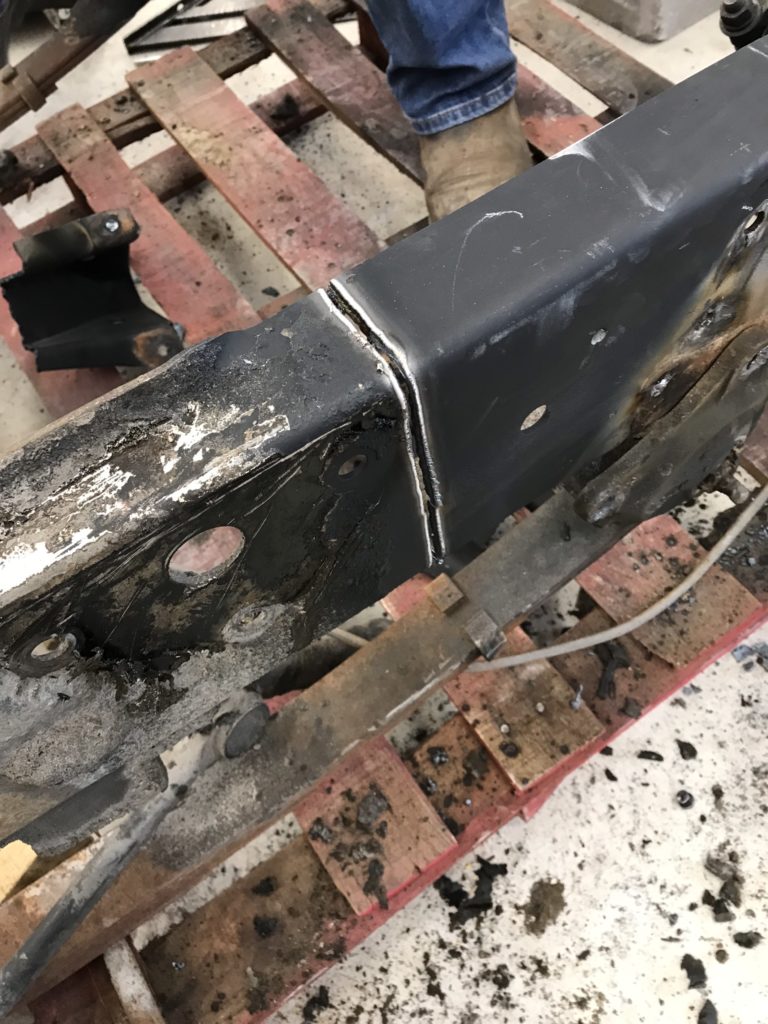
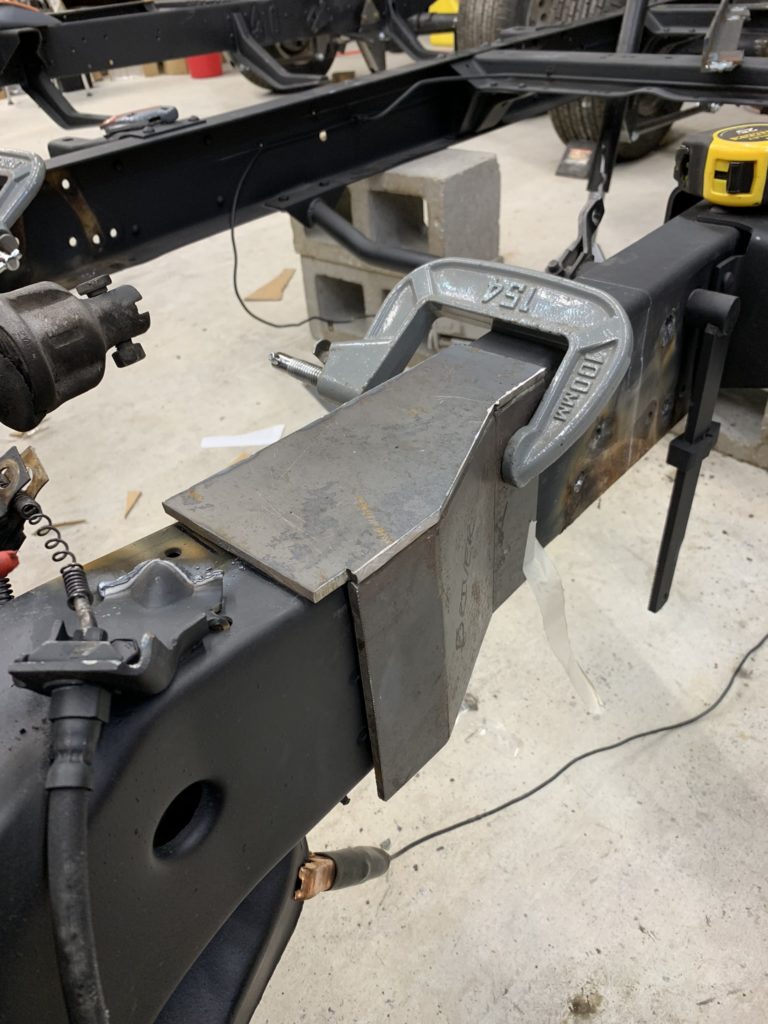
With the old chassis cut and the new front clip trimmed we gave ourselves about a 3″ gap between frames to work with. After squaring up the front clip to the rear frame, which takes a minute, we came up with this idea.
I believe if I keep at this I am going to want more equipment, but for now a score on the plate and a beater and the plate bolts right up!
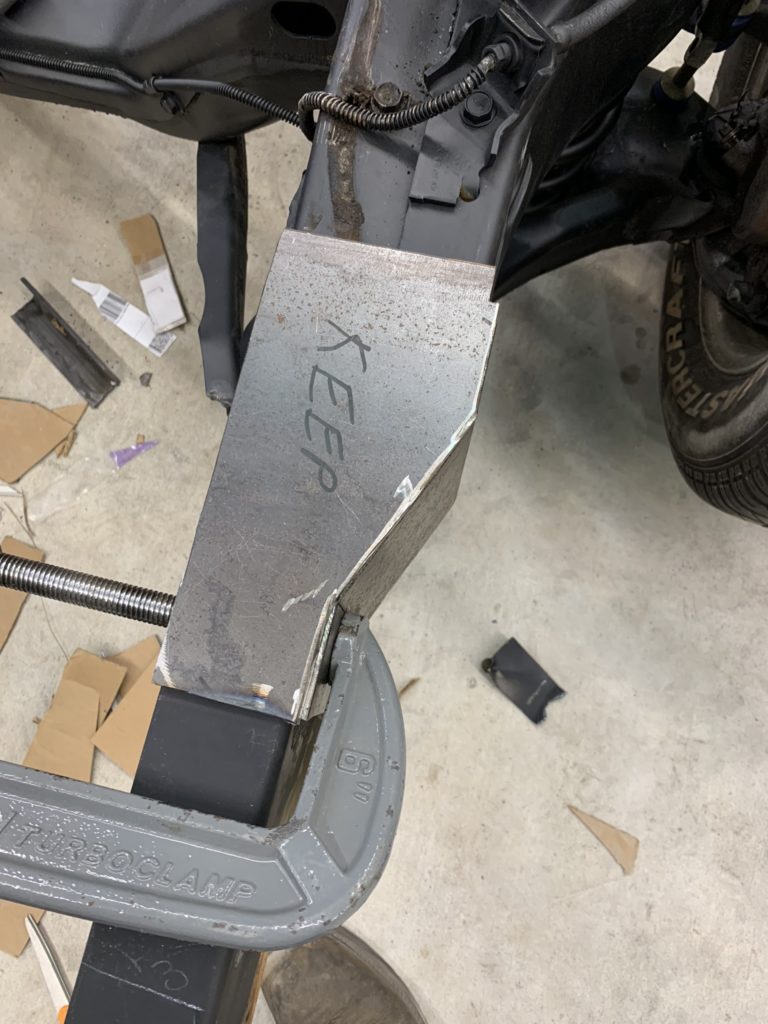

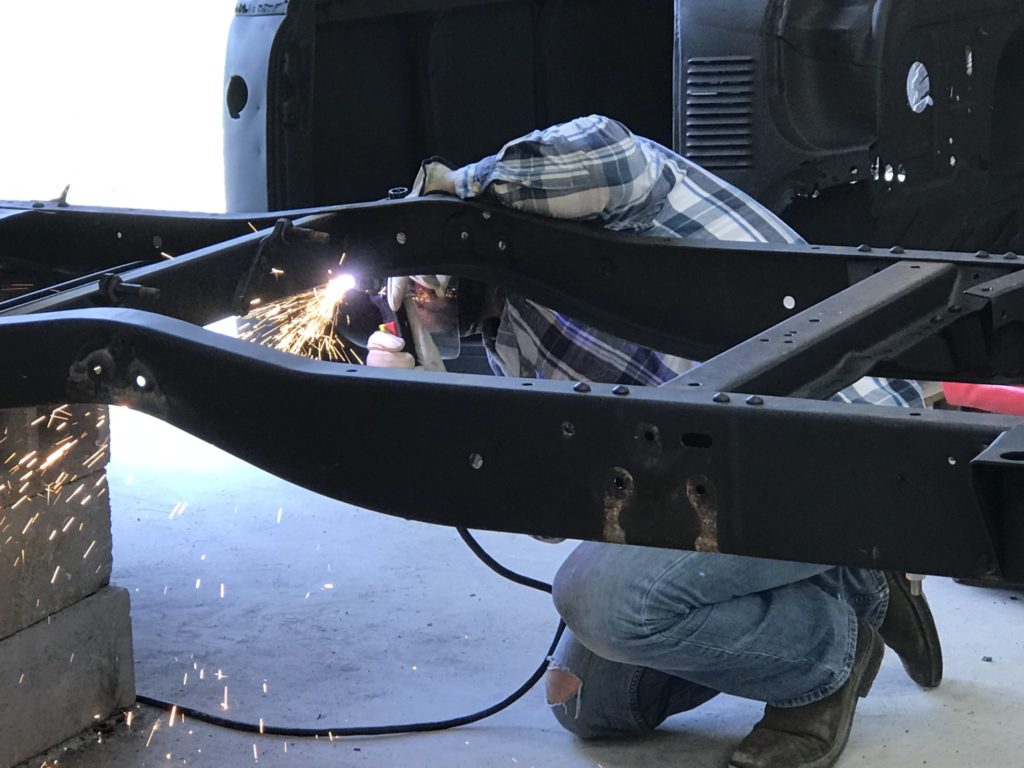
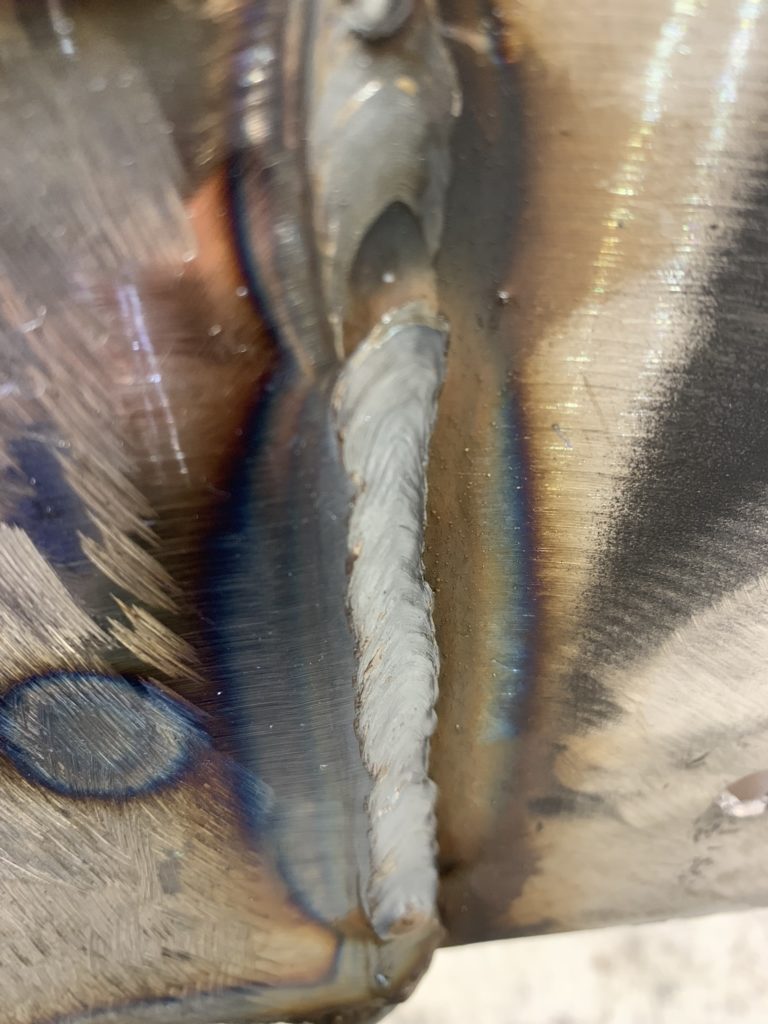
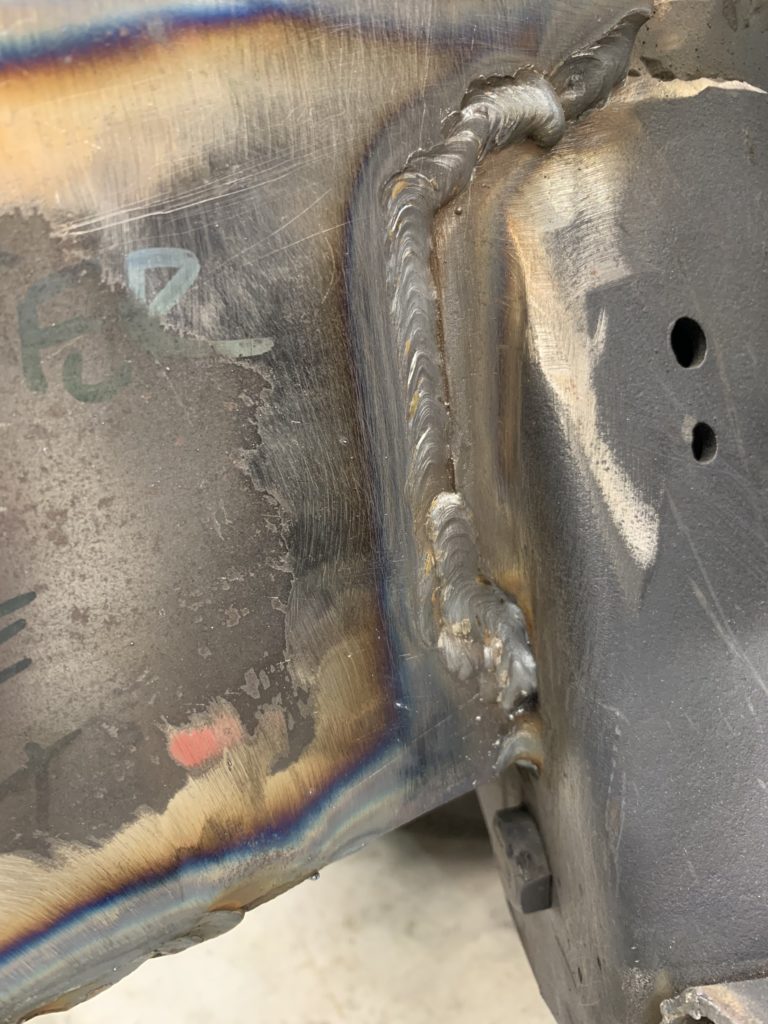
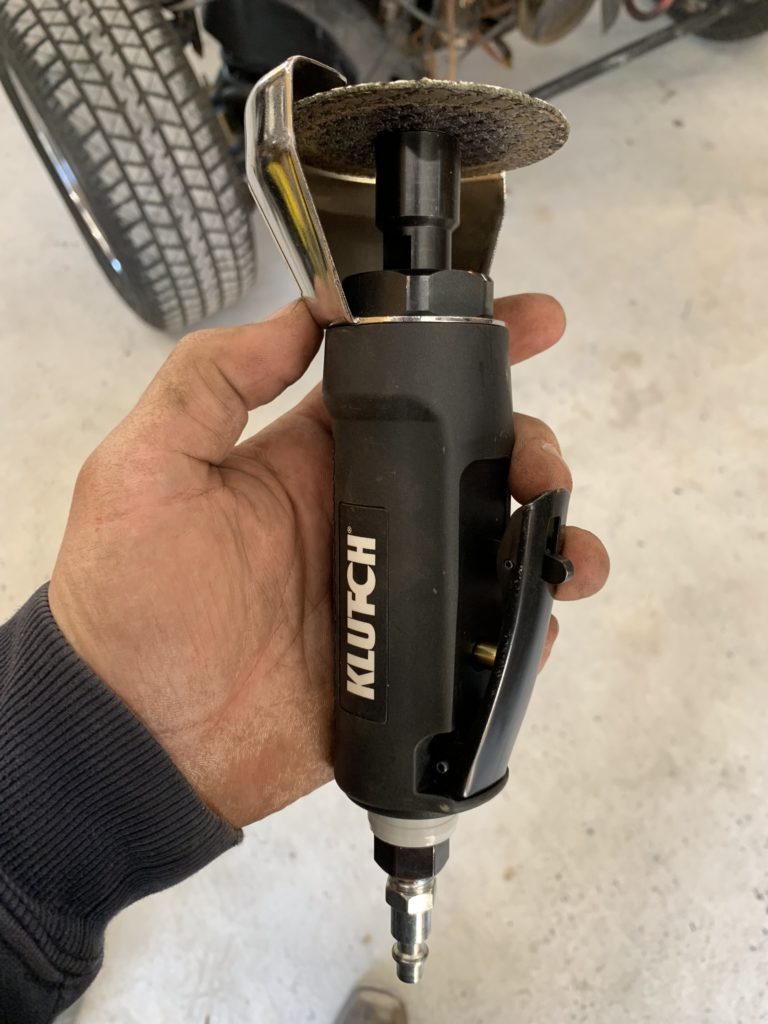
The key to solid welding is CLEAN steel. No matter what always clean your steel and don’t be shy to go a couple inches past where you are welding so you don’t bring in the contaminants.
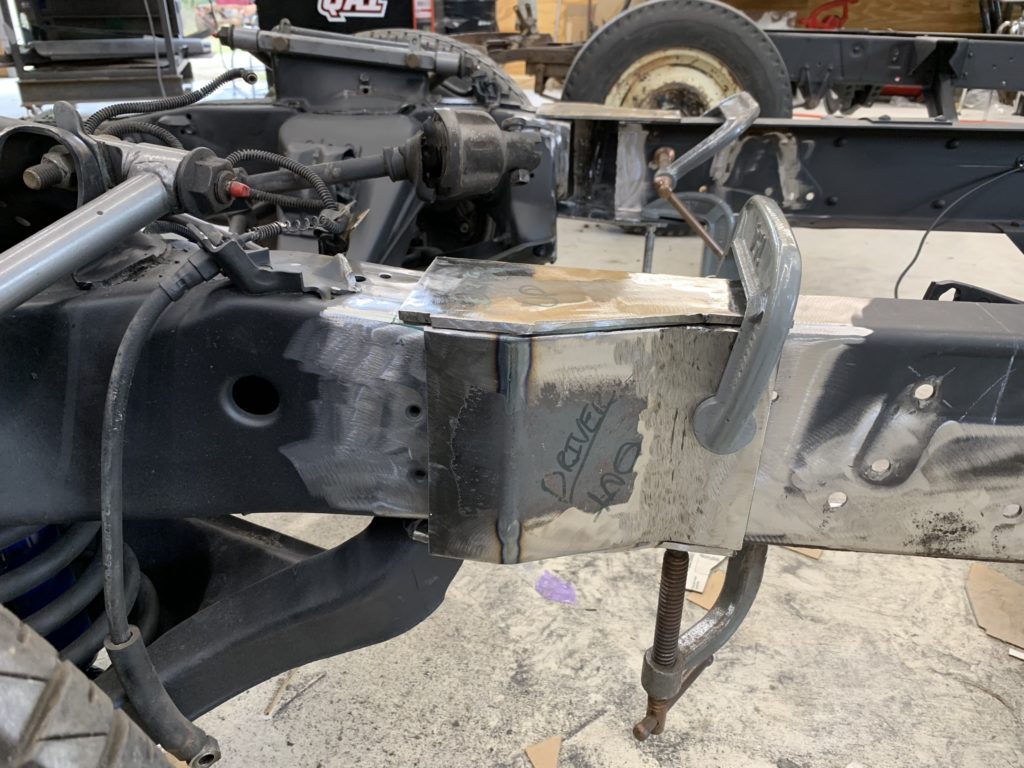

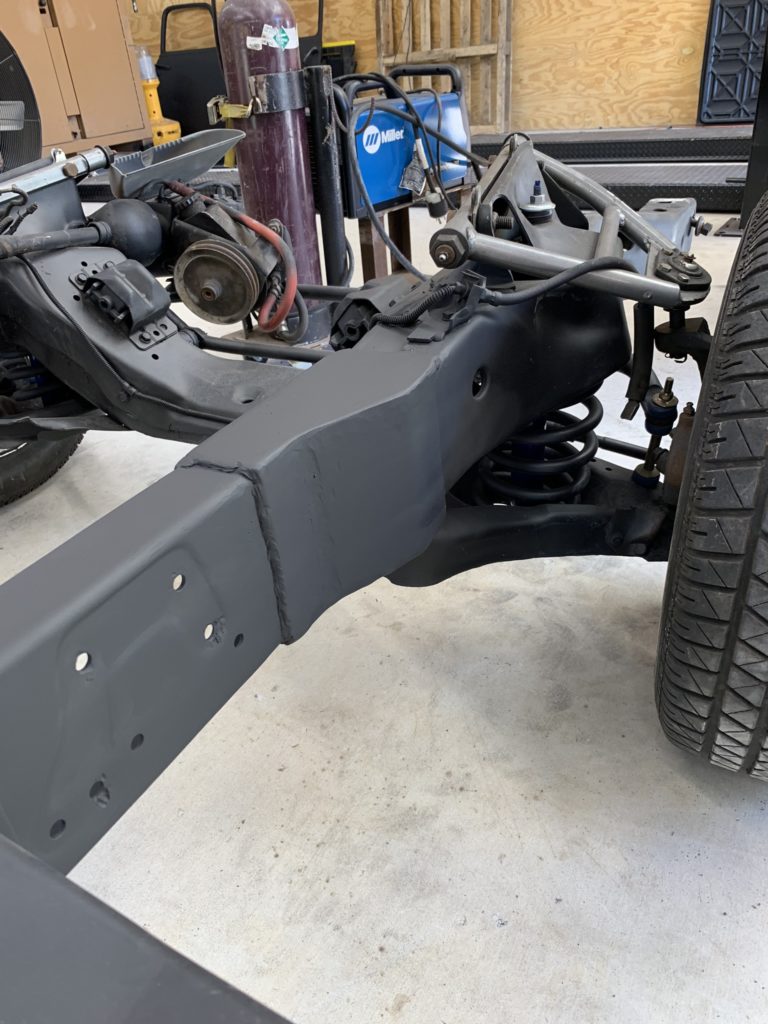
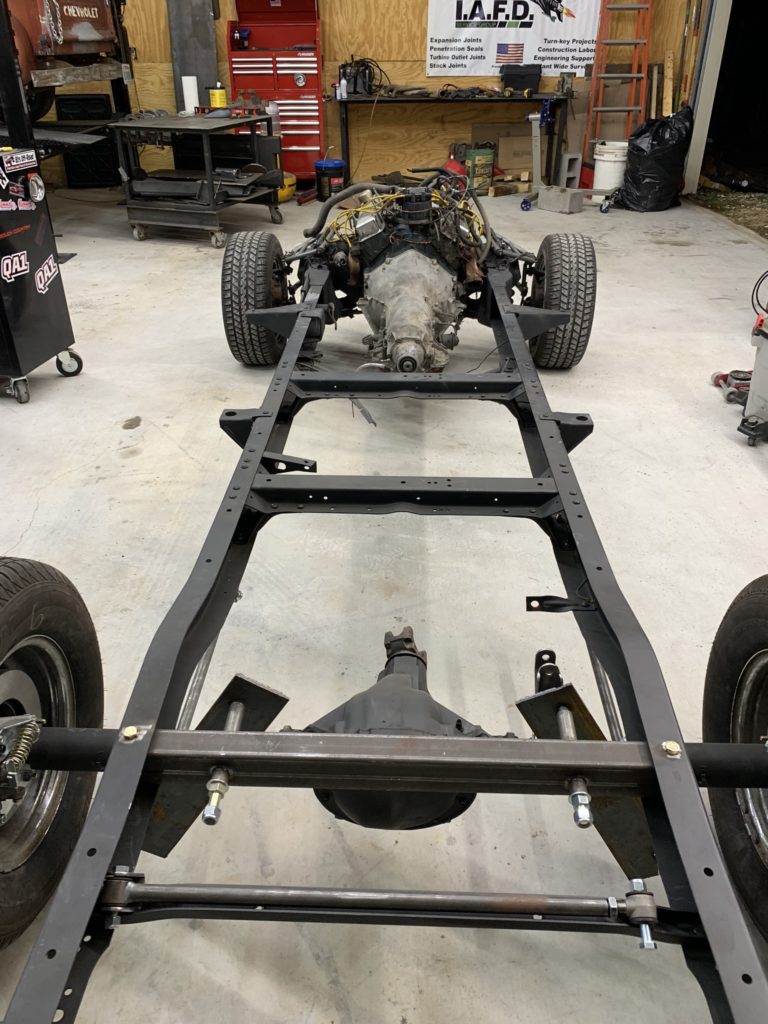
So after a few more hours of weld up we have a finished product, just like the instructions said, Bolts Right Up!
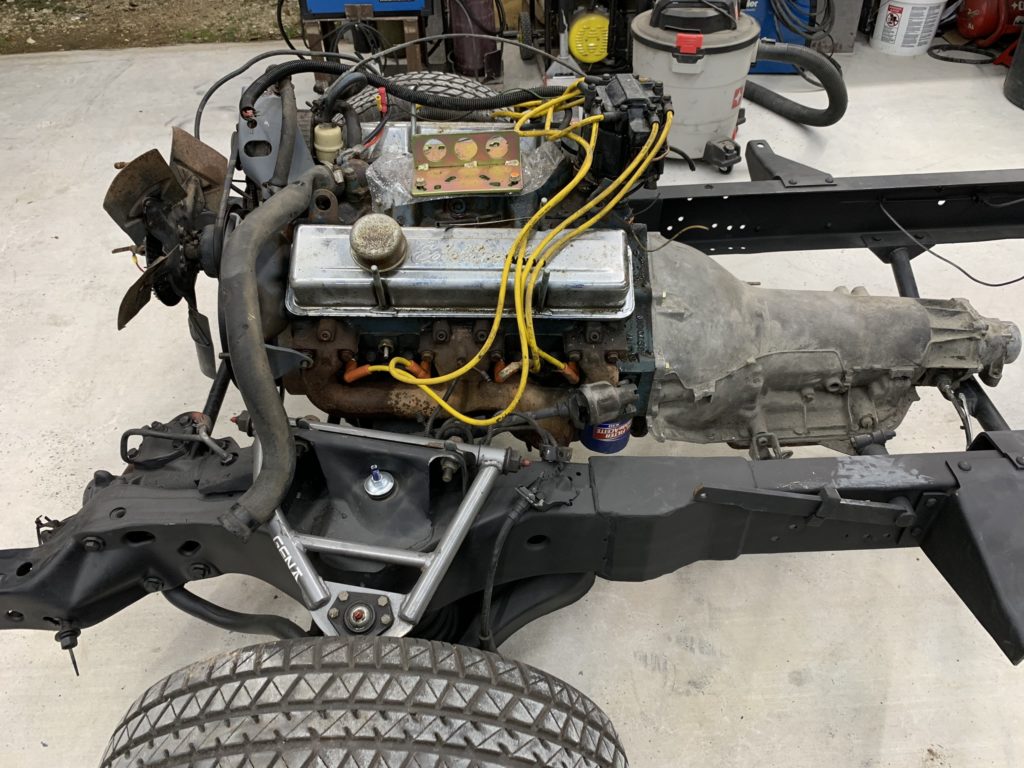
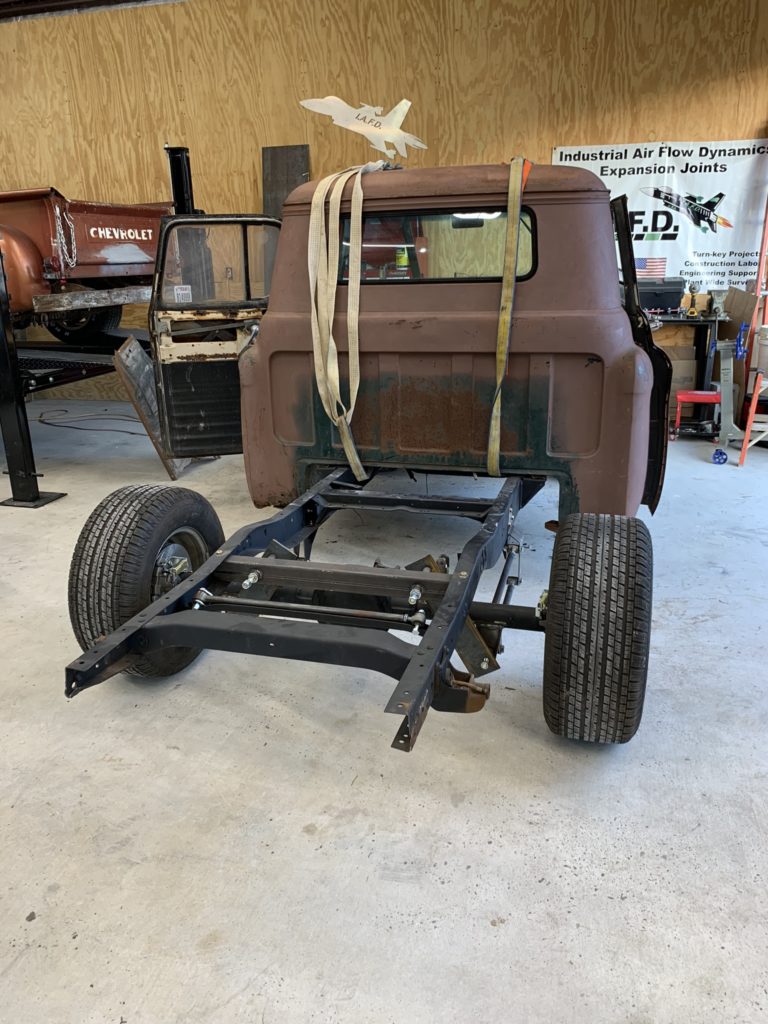
Today was a fit up day; took a spare 350 in the shop, bolted on a tranny and set it down into the chassis. Looks nice but still needs some adjustment and relocating the old tranny bracket. Front clip still seems high, might need a little cut out of the springs or maybe a 2″ spindle drop…
Safety note to all: a clean shop is a safe shop. Don’t be shy to stop for a minute and clean everything up and start fresh
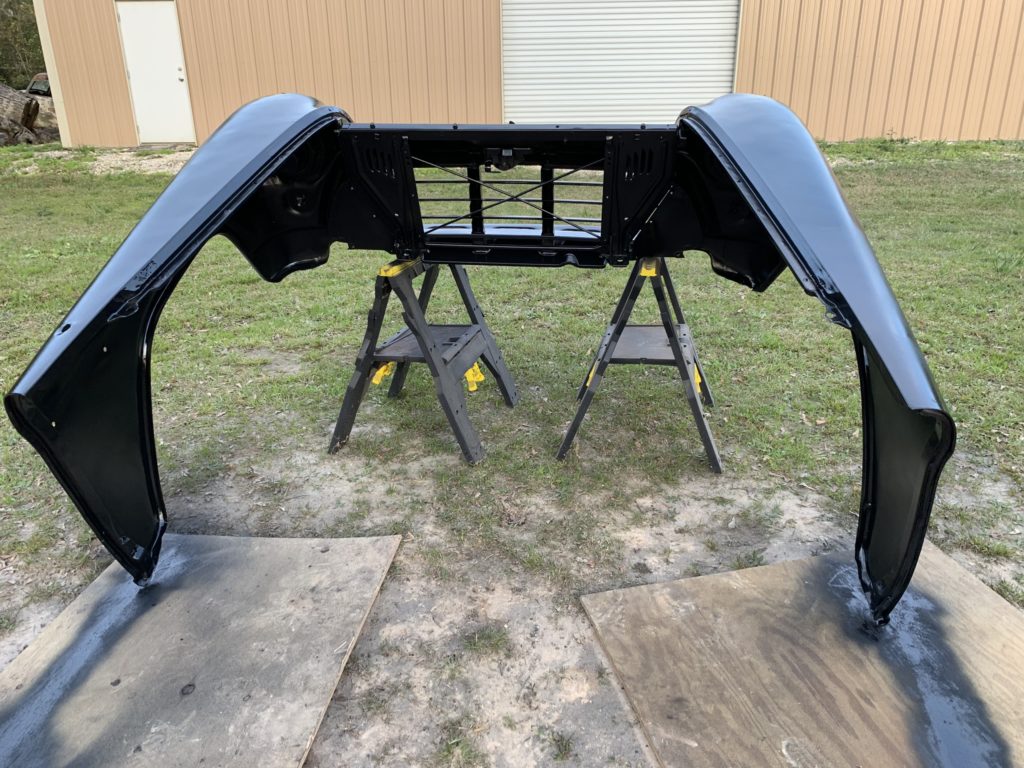
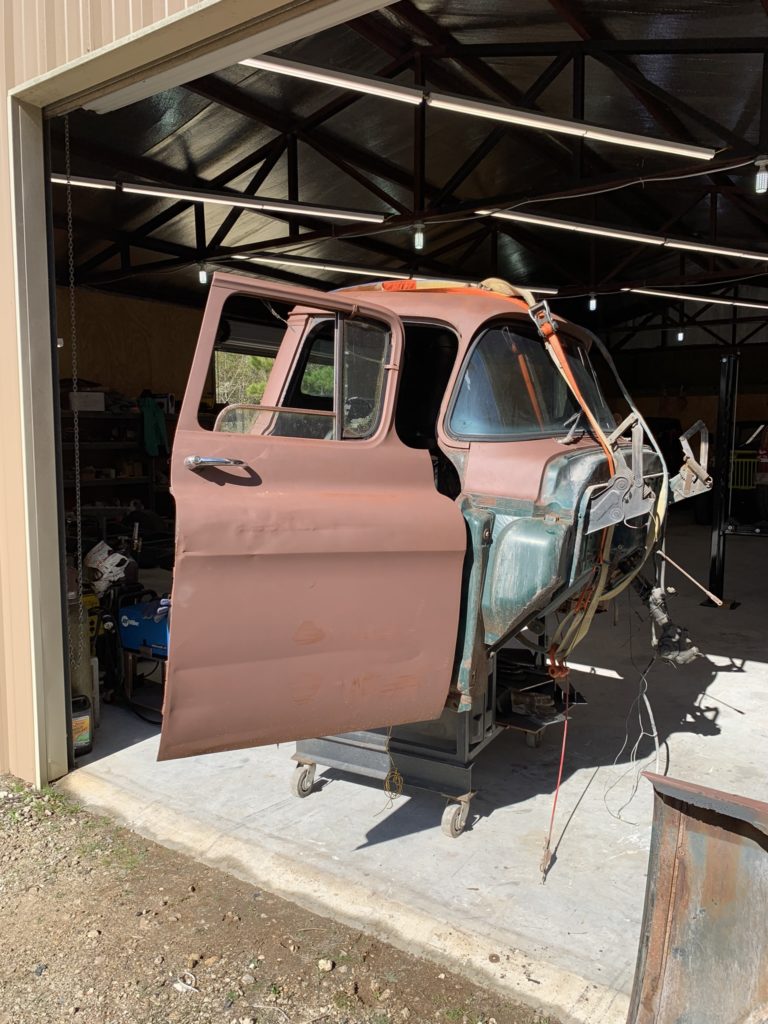
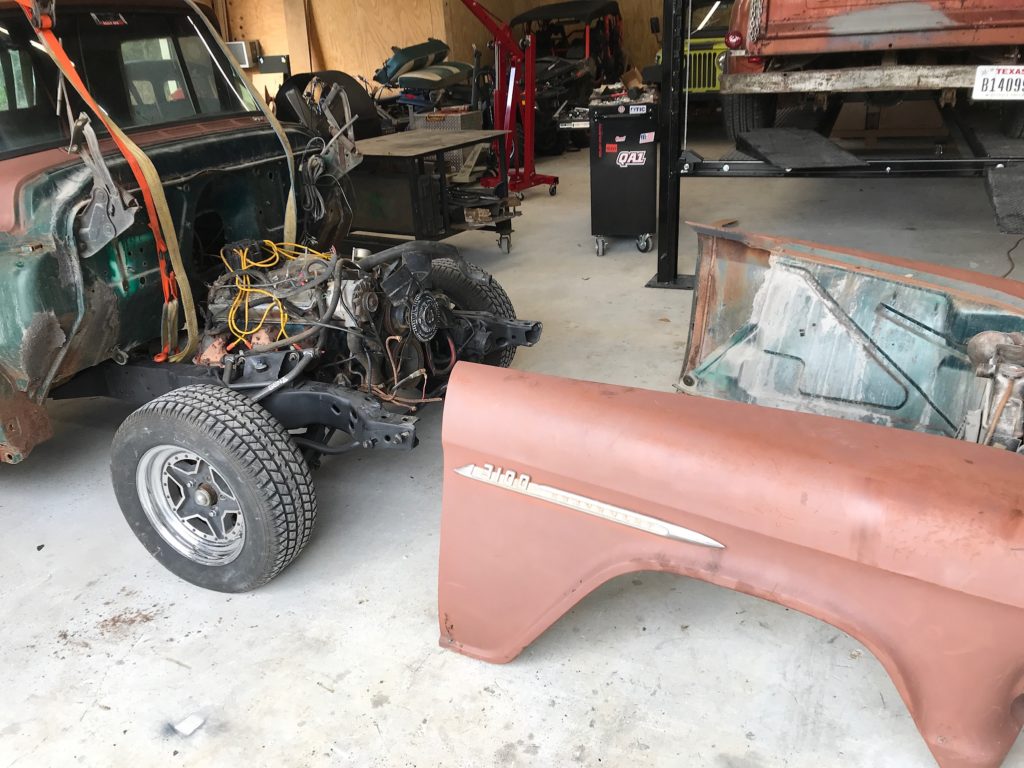
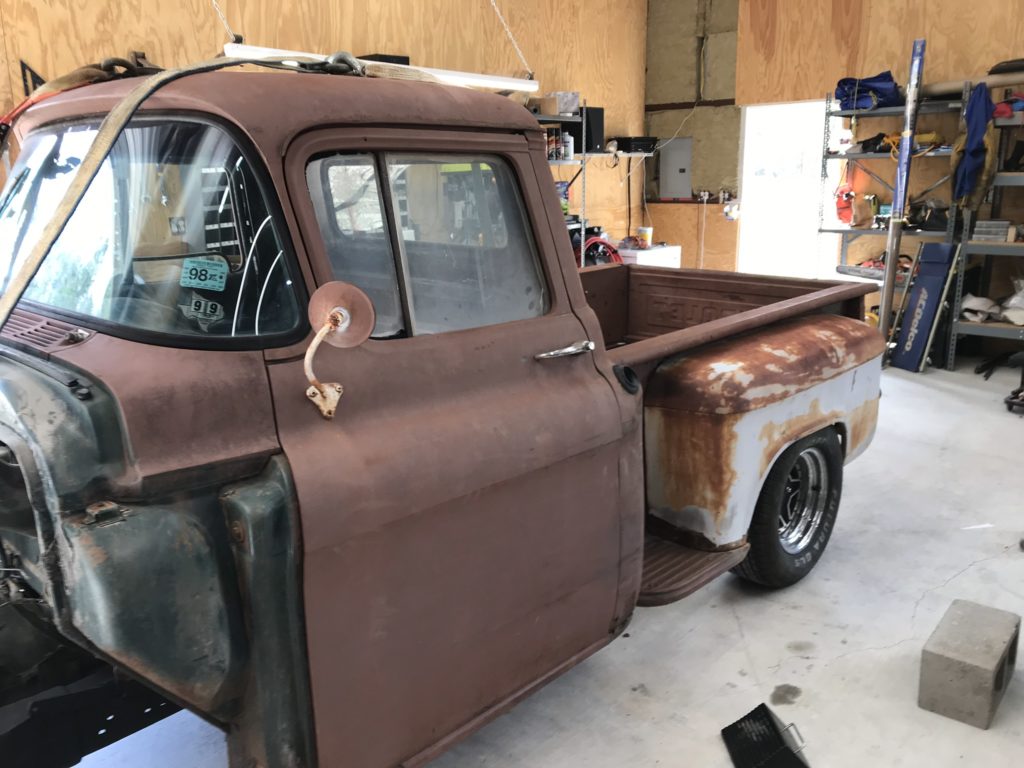
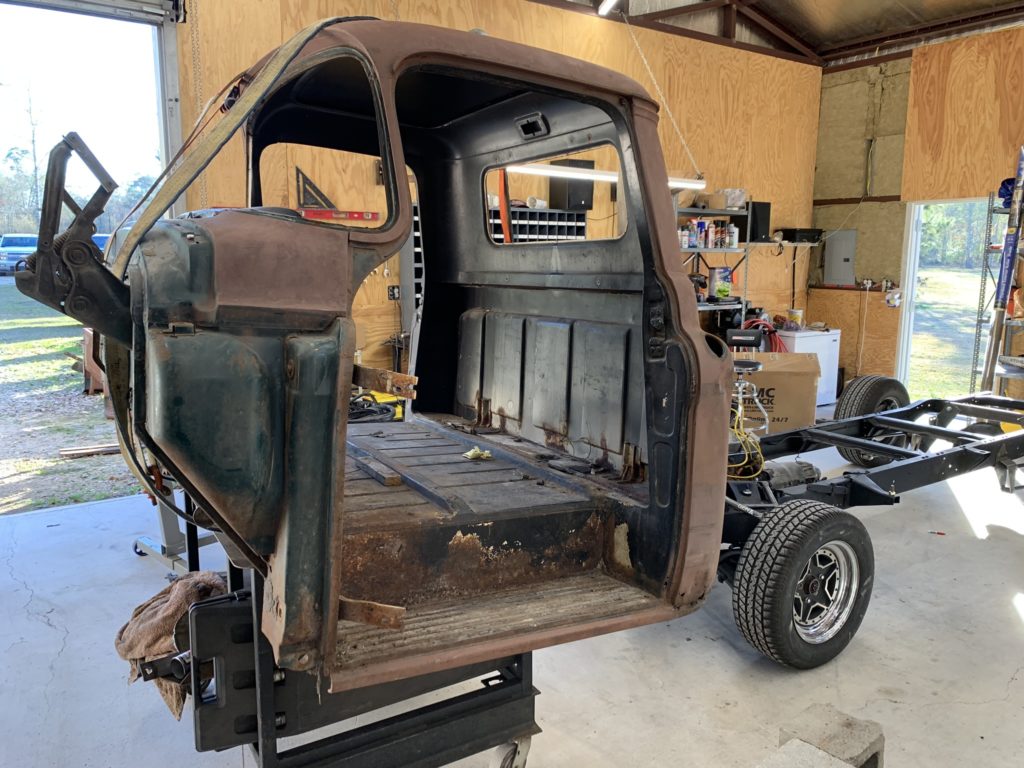
Today decided to bring the cab up on the work table and take the front fenders off, do a little fit up of the body.
Ripping and Stripping
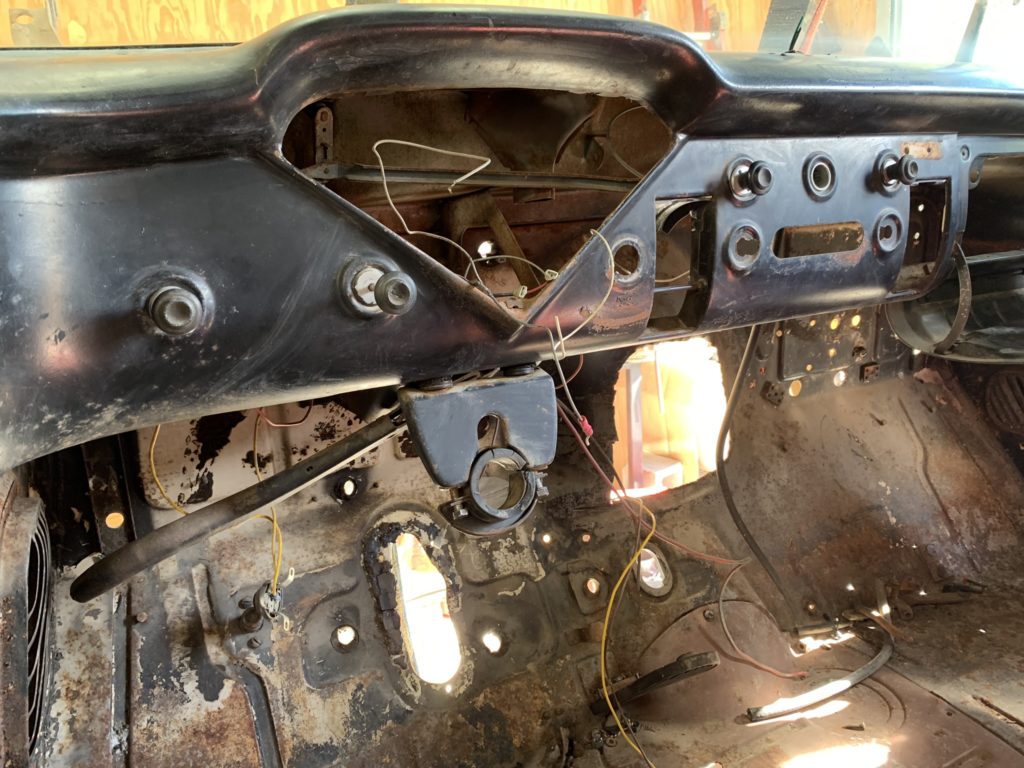
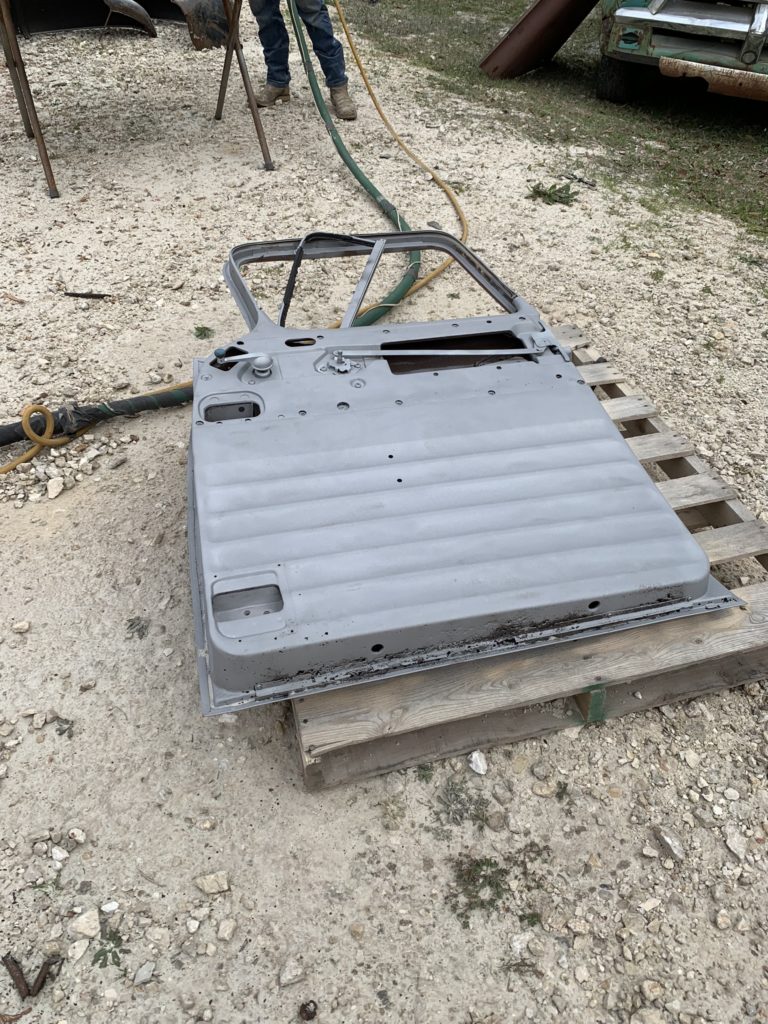
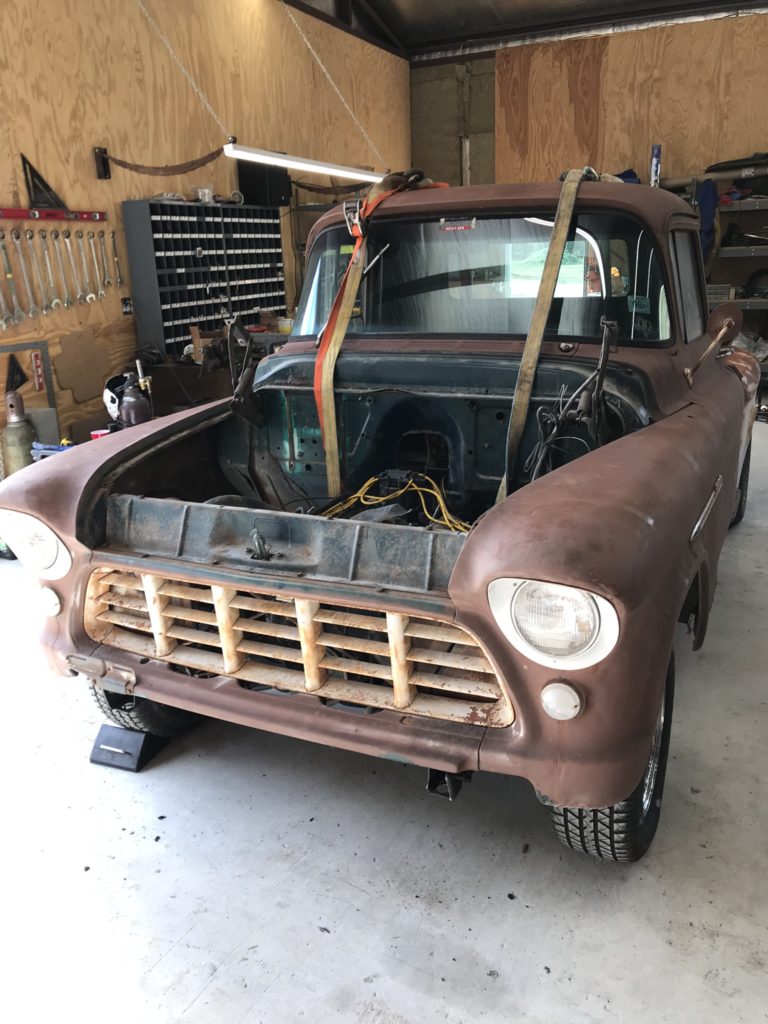
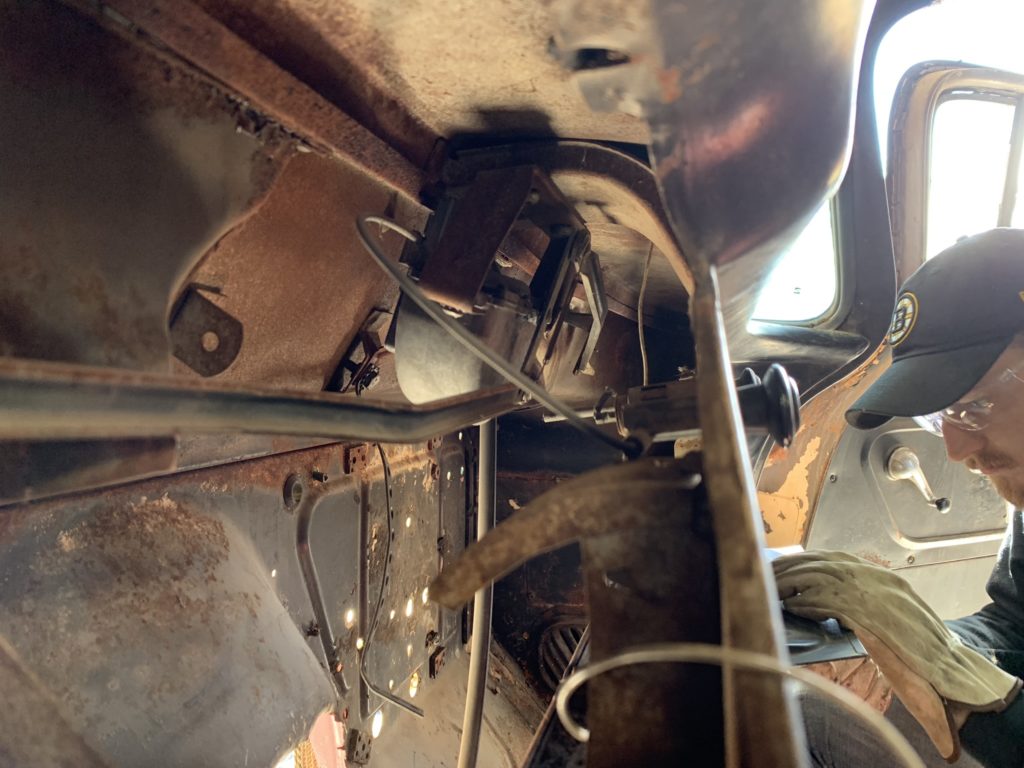
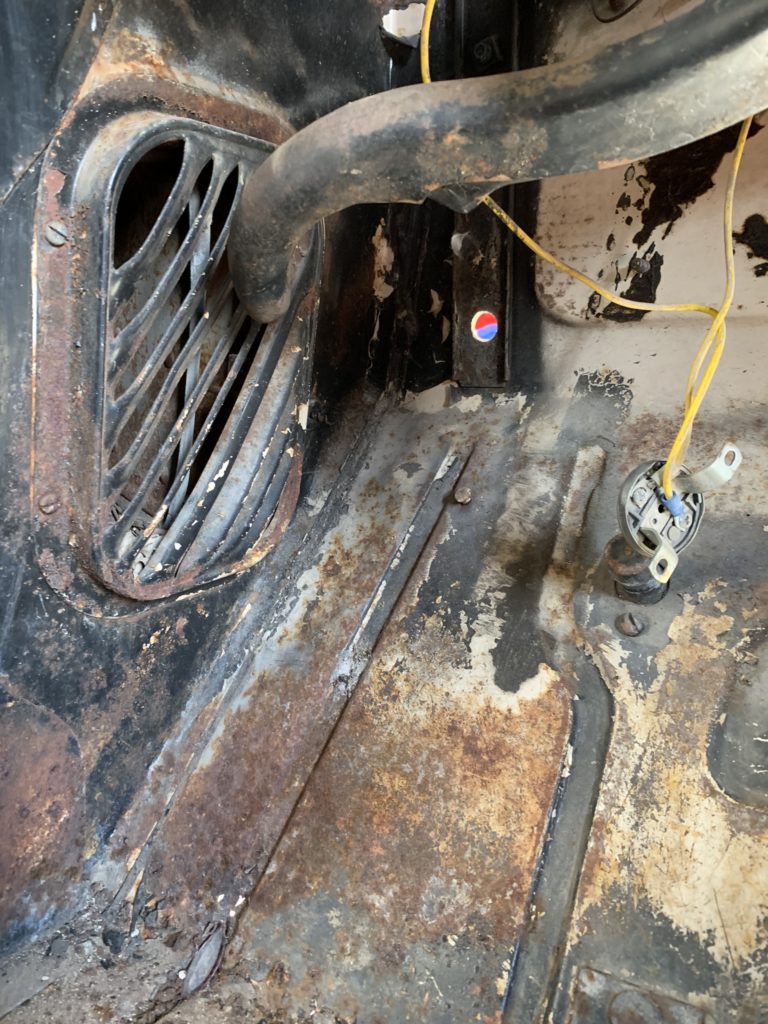
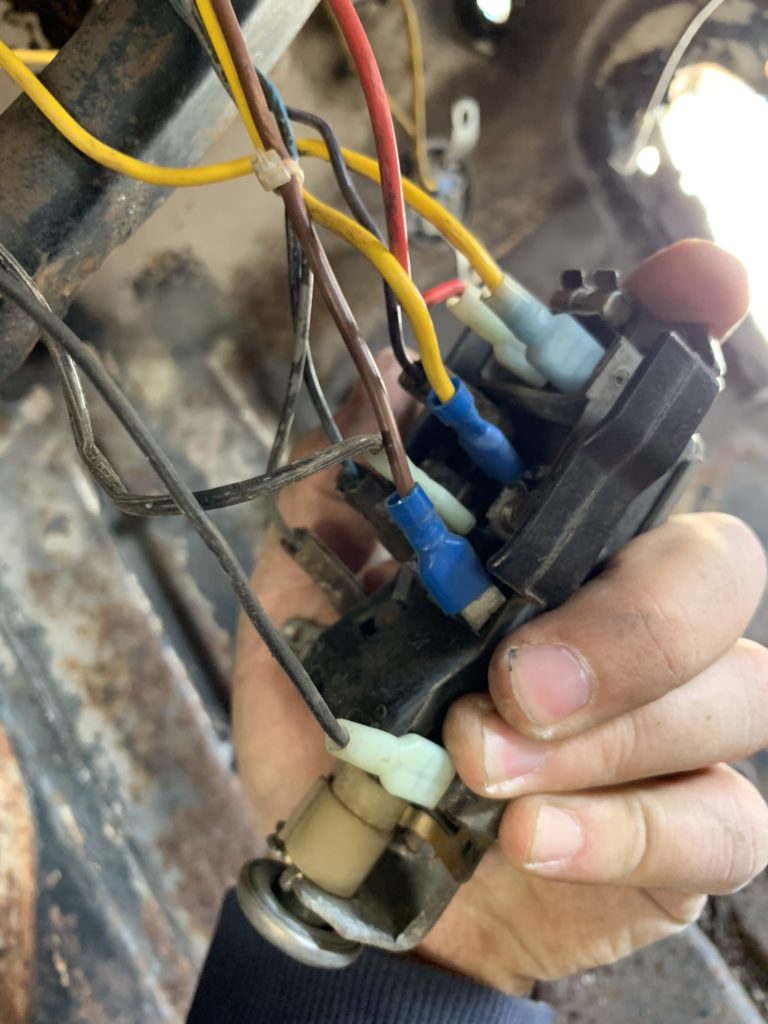
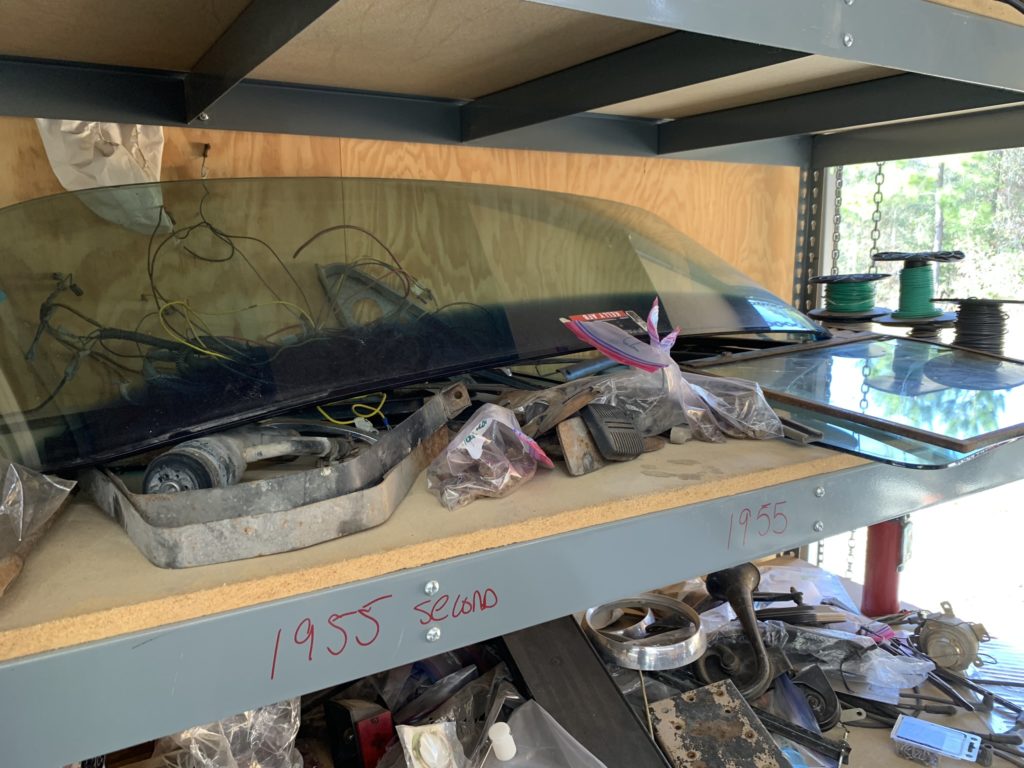
This weekend we set out on tearing out the all the rest of the items inside the cab of our truck. The seats and carpets were already removed so that was easy, the real work was in glass, doors, and the dash bezels. A couple hours and we were cleaned up and almost ready for blasting
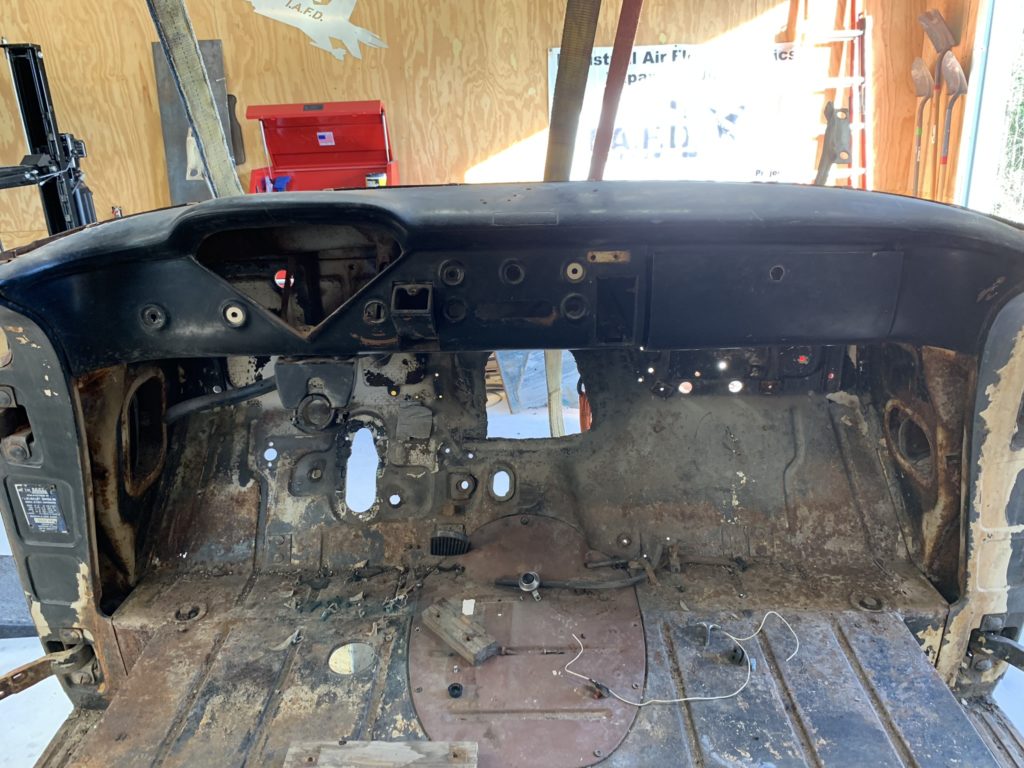
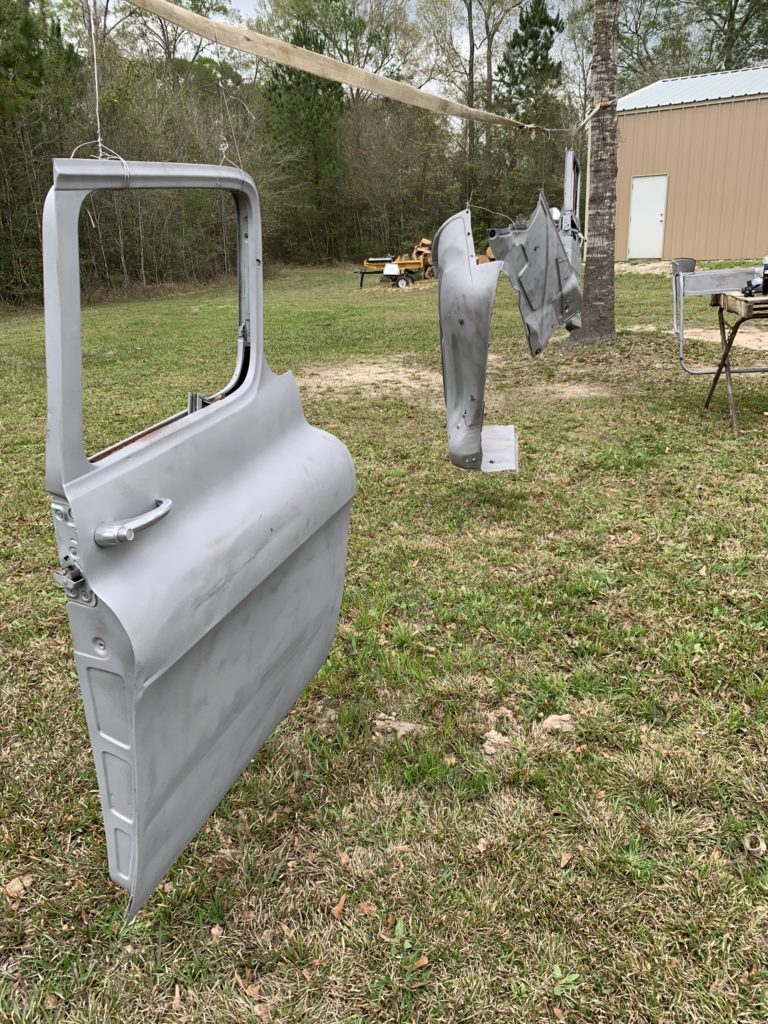
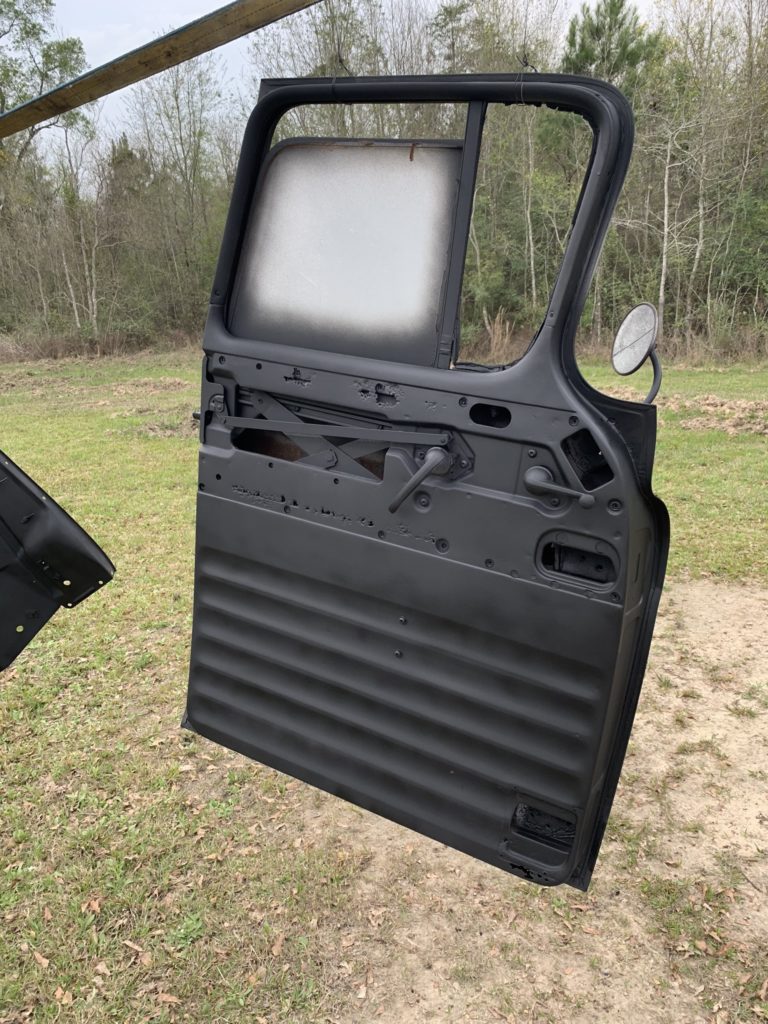
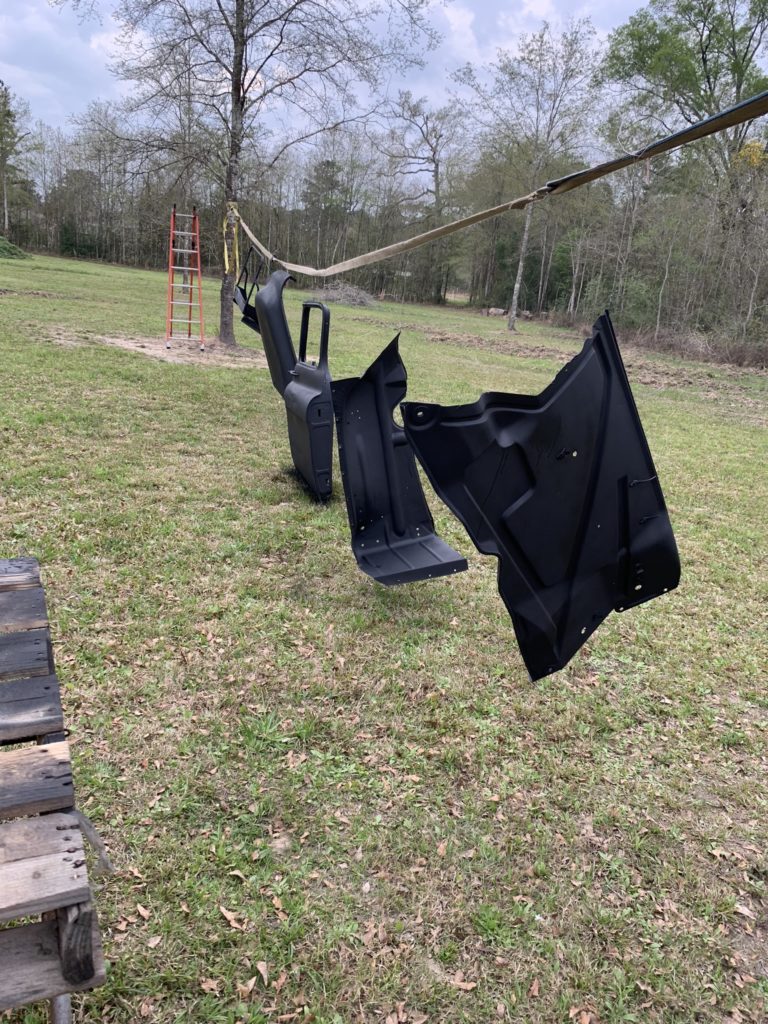
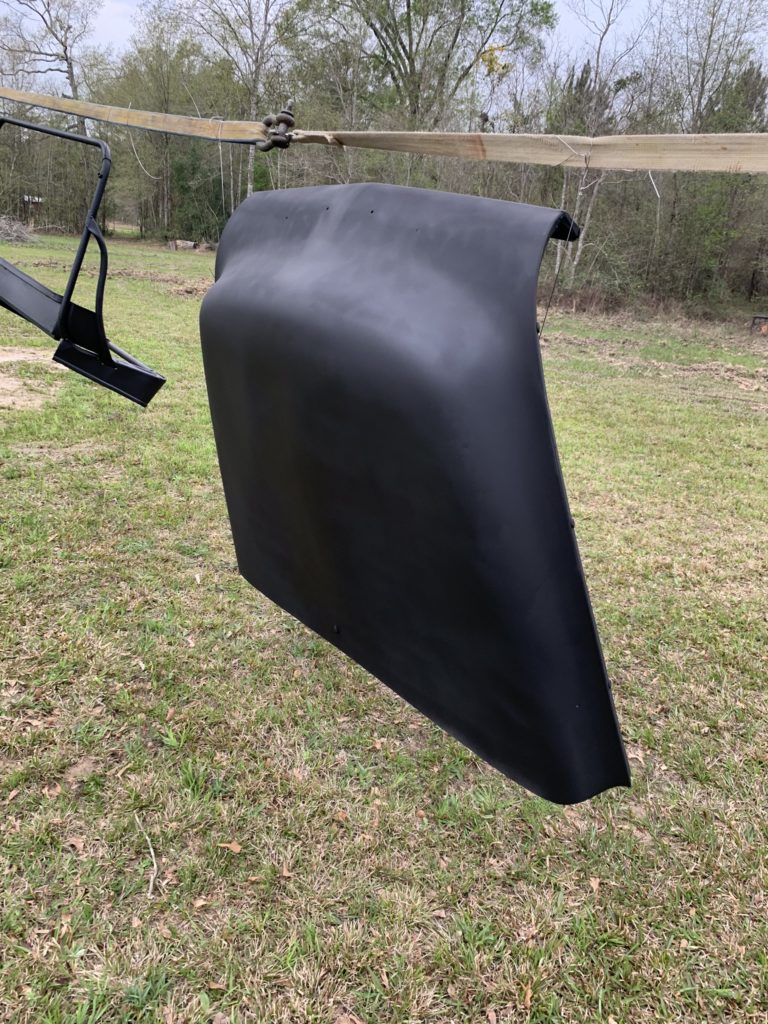
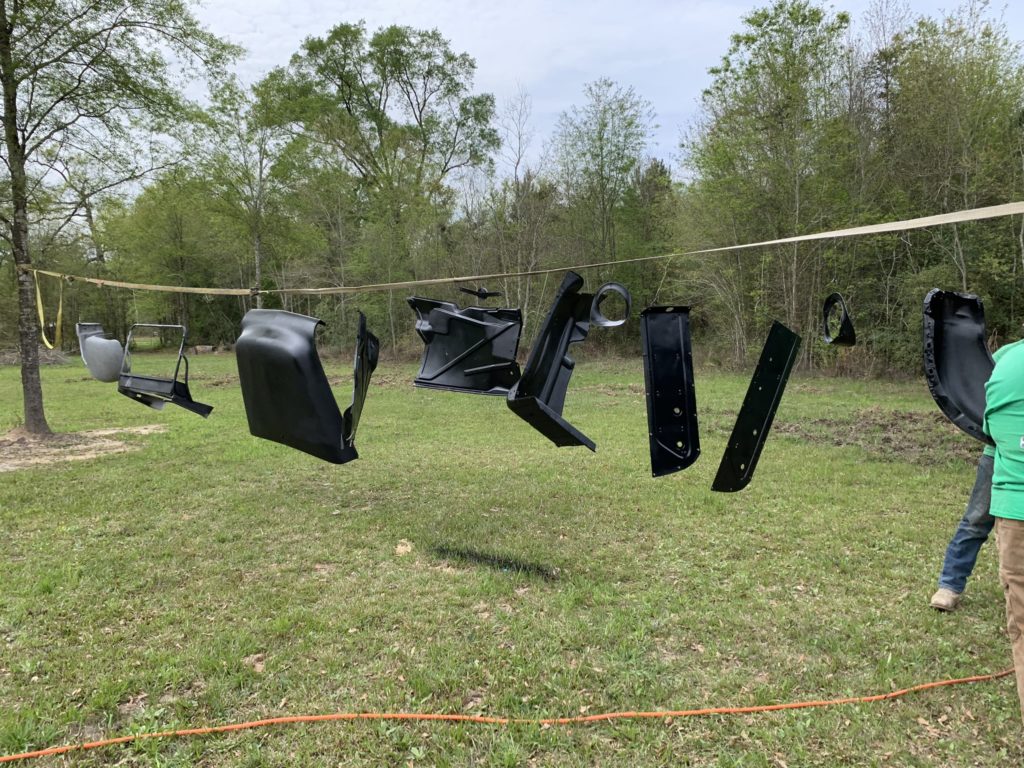
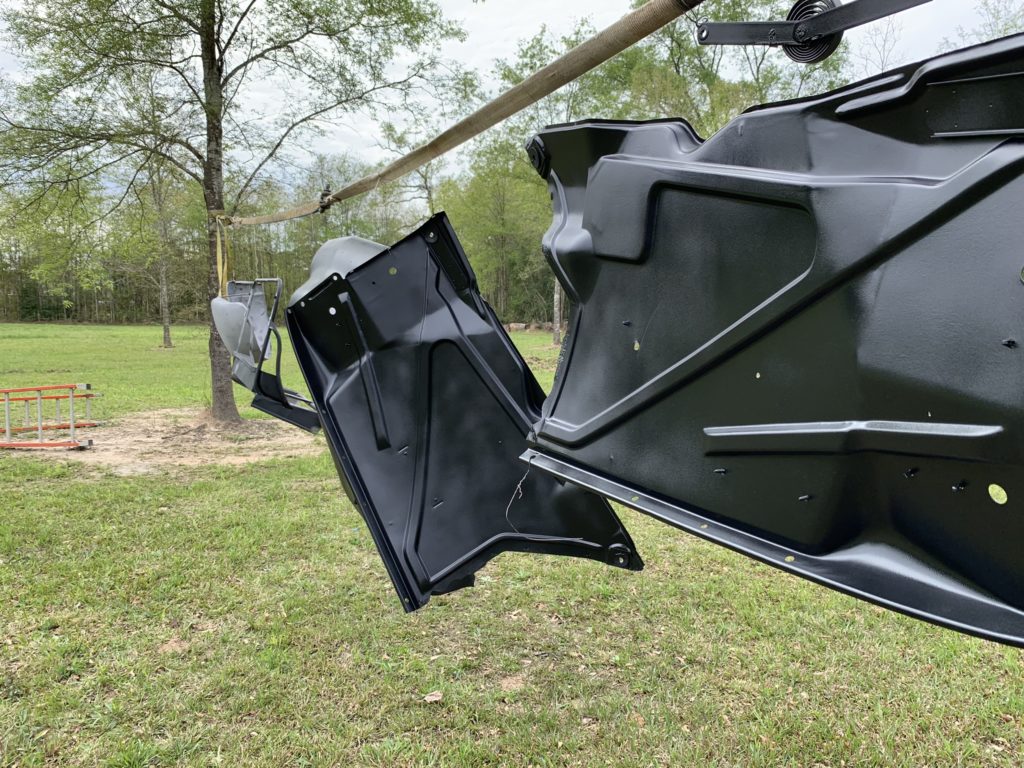
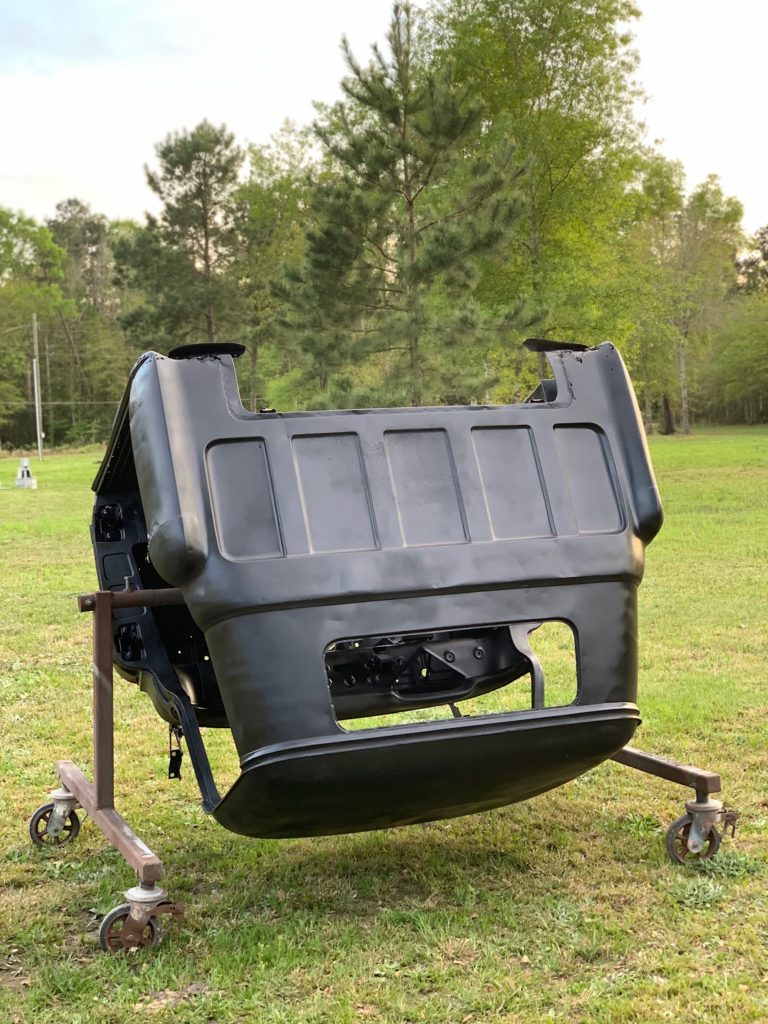
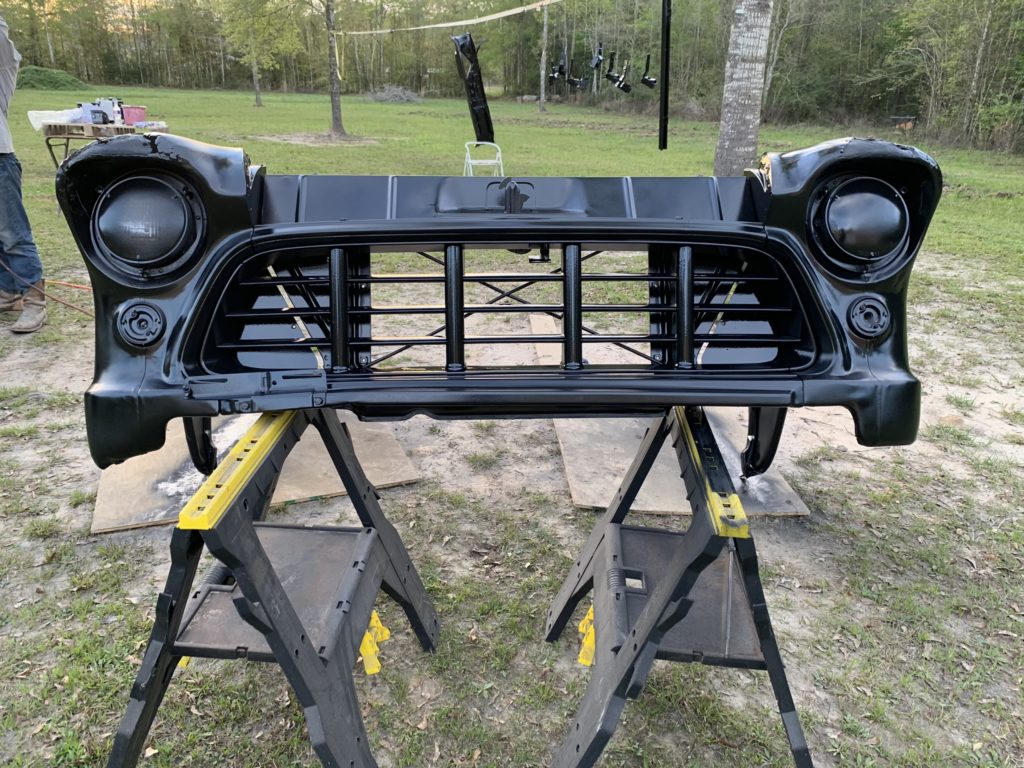
Body work time!
It’s time to get the 55 body media blasted, epoxy sealed and ready for patch panels!